Had a request awhile back to post how I made some simple pedestals to mound my amps, so here goes.
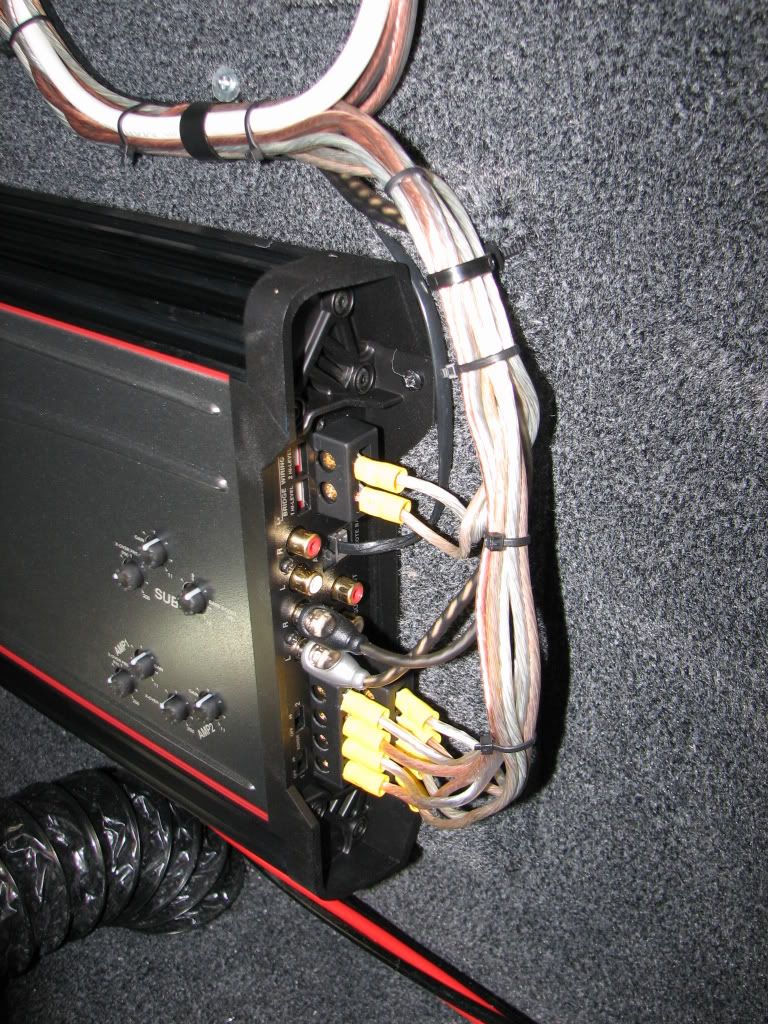
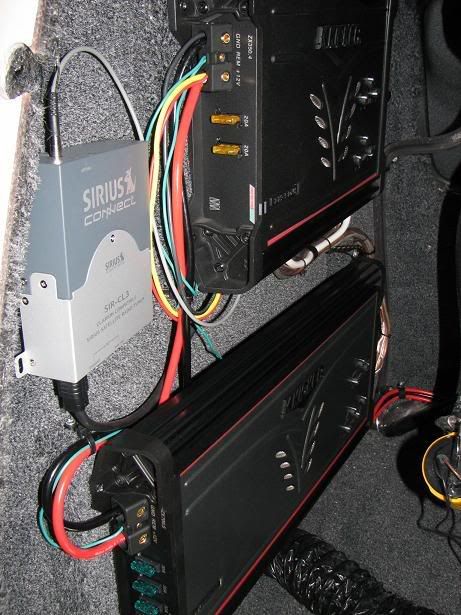
The walk-thru wall is not very thick, but thick enough to hold an amp. But with the pedestal, I can use a little longer screw to mount the amp to the pedestal, plus the 3 to mount each pedestal to the wall, to hold it all nice and secure.
Bringing the amps out from the wall accomplishes 2 things; gives the amps some breathing room to dissipate heat, and allows you to run you wires behind the amps for a nice clean install.
building materials:
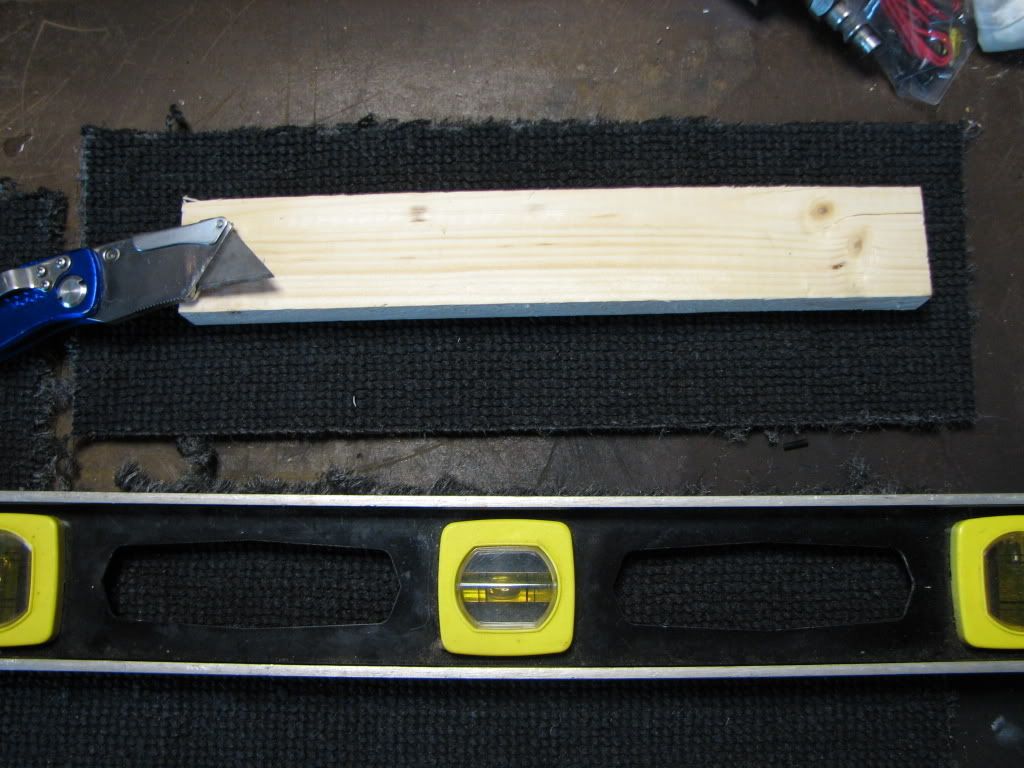
1"x2"x12" (2 per amp)
scrap Tige carpet - lots of pieces shipped with the boats, ask you dealer's prep guys.
carpet/adhesive spray
SS staples
tools:
straight edge
carpet knife
staple gun
To mount pedestals to boat wall and to mount amp to pedestals
#8 x 1-3/4" SS screws for pedestals (3 per)
#8 x 1-3/4" SS screws for amps (4 per amp)
4 thumb tacks
cardboard back of amp box.
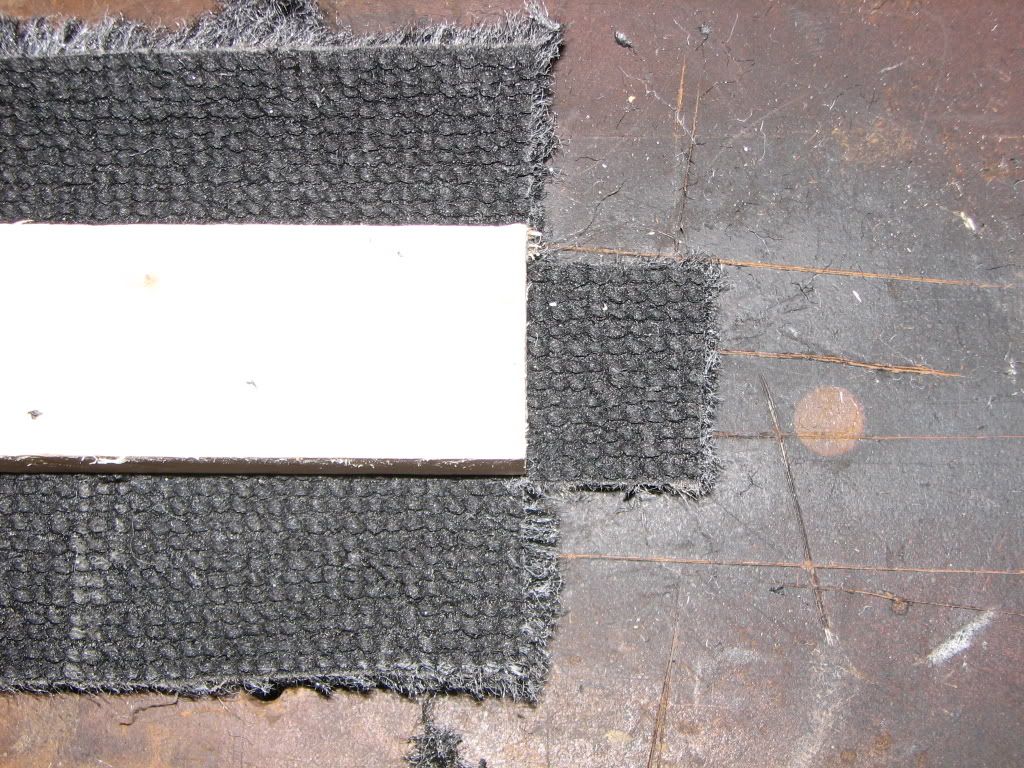
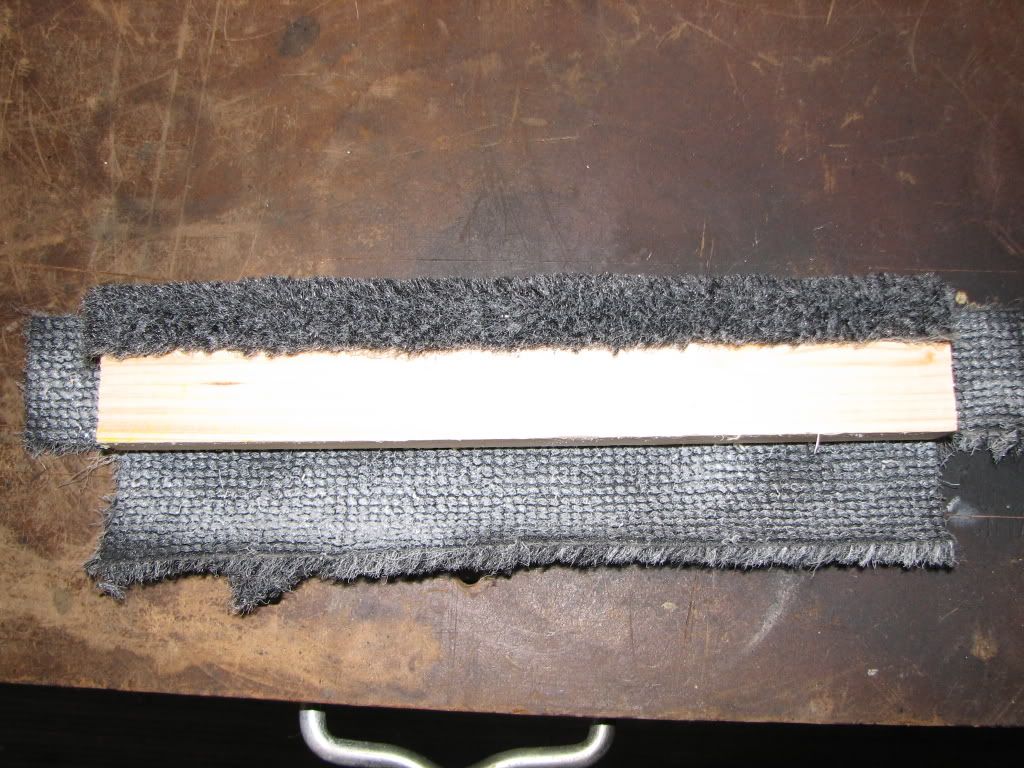
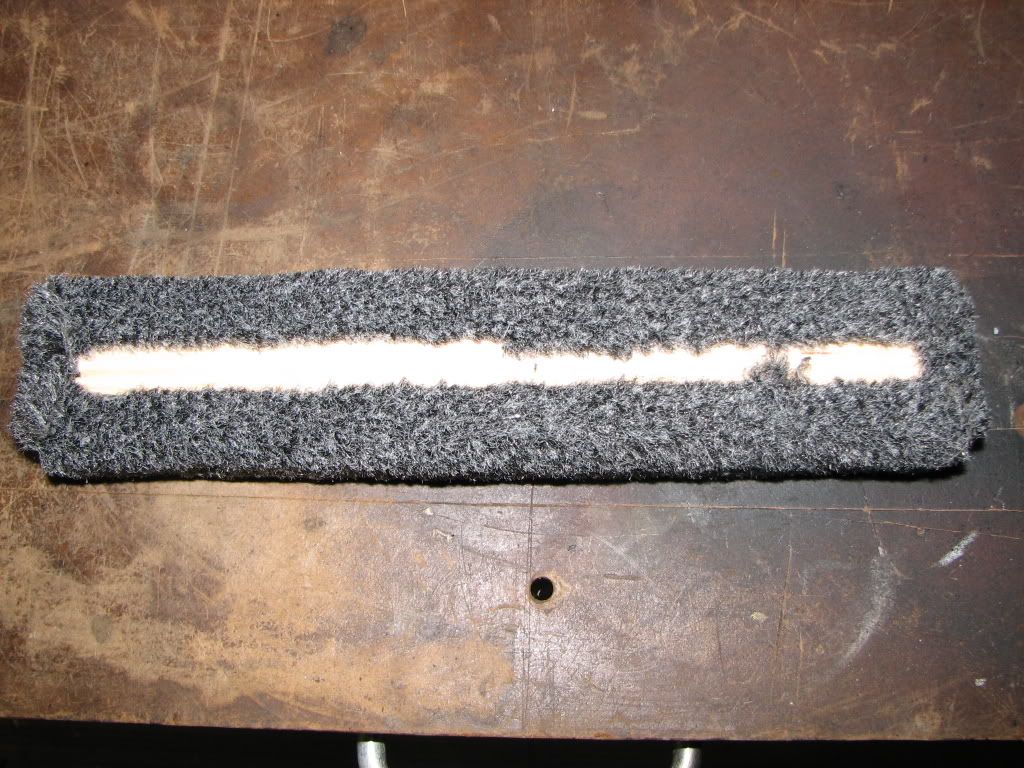
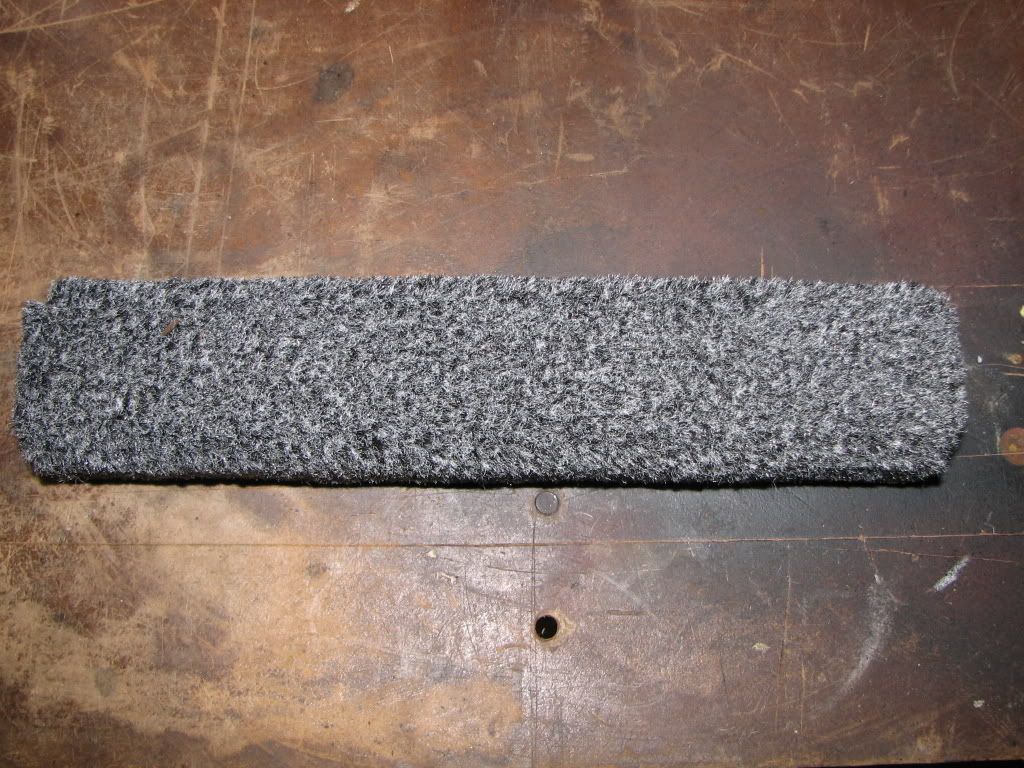
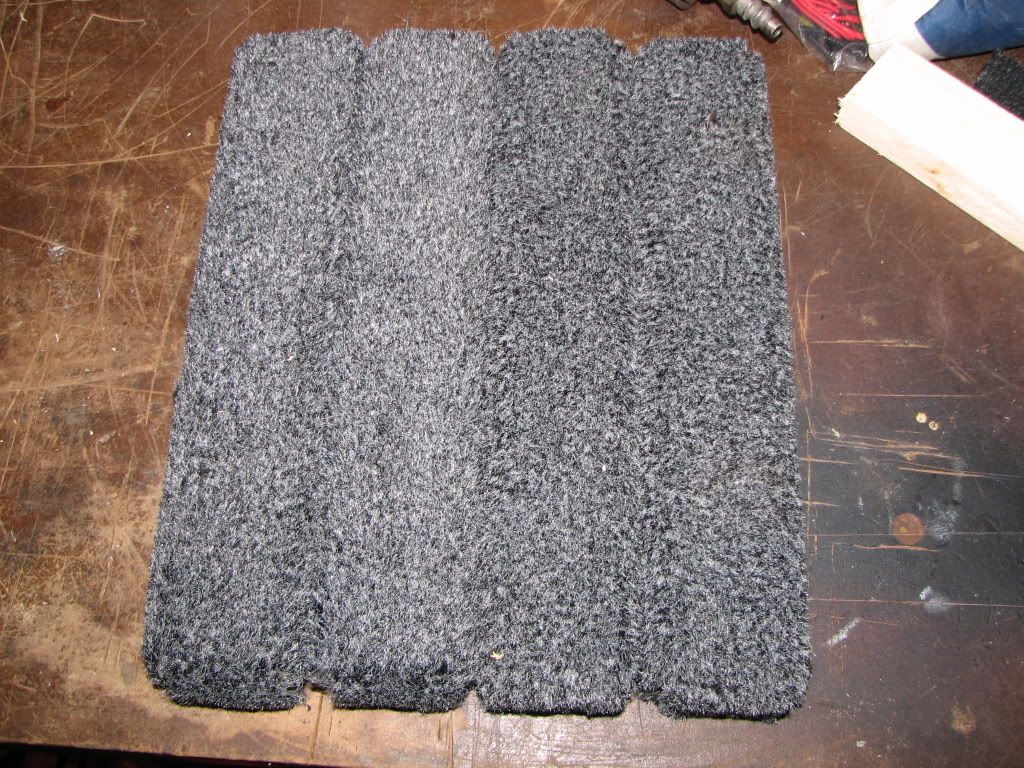
Pics a fairly self explanatory, so I wont give a play by play. Basically, cut wood, cut carpet, spray carpet, wrap wood, add a few staples
Now this is how to mount the pedestals to the wall:
Cut a piece of cardboard to the pattern of the amp base and mark the mounting holes on the cardboard. Thumbtack the cardboard to the 2 pedestals. Go ahead and start you screws into the pedestals. Put the whole thing up to the wall and run the screws in to secure the pedestals and remove thumbtacks and cardboard. Now mount the amp to the pedestals.
The cardboard eliminates the need to measure and lift the heavy amp by setting the distance between the 2 pedestals to the width of the amp. If you're doing 2 amps, you can easily hold both mock-ups up against the wall rather then 2 heavy amps so you can get an idea of where everything will go.
The walk-thru wall is not very thick, but thick enough to hold an amp. But with the pedestal, I can use a little longer screw to mount the amp to the pedestal, plus the 3 to mount each pedestal to the wall, to hold it all nice and secure.
Bringing the amps out from the wall accomplishes 2 things; gives the amps some breathing room to dissipate heat, and allows you to run you wires behind the amps for a nice clean install.
building materials:
1"x2"x12" (2 per amp)
scrap Tige carpet - lots of pieces shipped with the boats, ask you dealer's prep guys.
carpet/adhesive spray
SS staples
tools:
straight edge
carpet knife
staple gun
To mount pedestals to boat wall and to mount amp to pedestals
#8 x 1-3/4" SS screws for pedestals (3 per)
#8 x 1-3/4" SS screws for amps (4 per amp)
4 thumb tacks
cardboard back of amp box.
Pics a fairly self explanatory, so I wont give a play by play. Basically, cut wood, cut carpet, spray carpet, wrap wood, add a few staples


Now this is how to mount the pedestals to the wall:
Cut a piece of cardboard to the pattern of the amp base and mark the mounting holes on the cardboard. Thumbtack the cardboard to the 2 pedestals. Go ahead and start you screws into the pedestals. Put the whole thing up to the wall and run the screws in to secure the pedestals and remove thumbtacks and cardboard. Now mount the amp to the pedestals.
The cardboard eliminates the need to measure and lift the heavy amp by setting the distance between the 2 pedestals to the width of the amp. If you're doing 2 amps, you can easily hold both mock-ups up against the wall rather then 2 heavy amps so you can get an idea of where everything will go.


Comment