Announcement

Collapse
No announcement yet.

ET's 2012 MXZ Kicker Build

Collapse
X
 
  • Filter
  • Time
  • Show
Clear All
new posts

    ET's 2012 MXZ Kicker Build

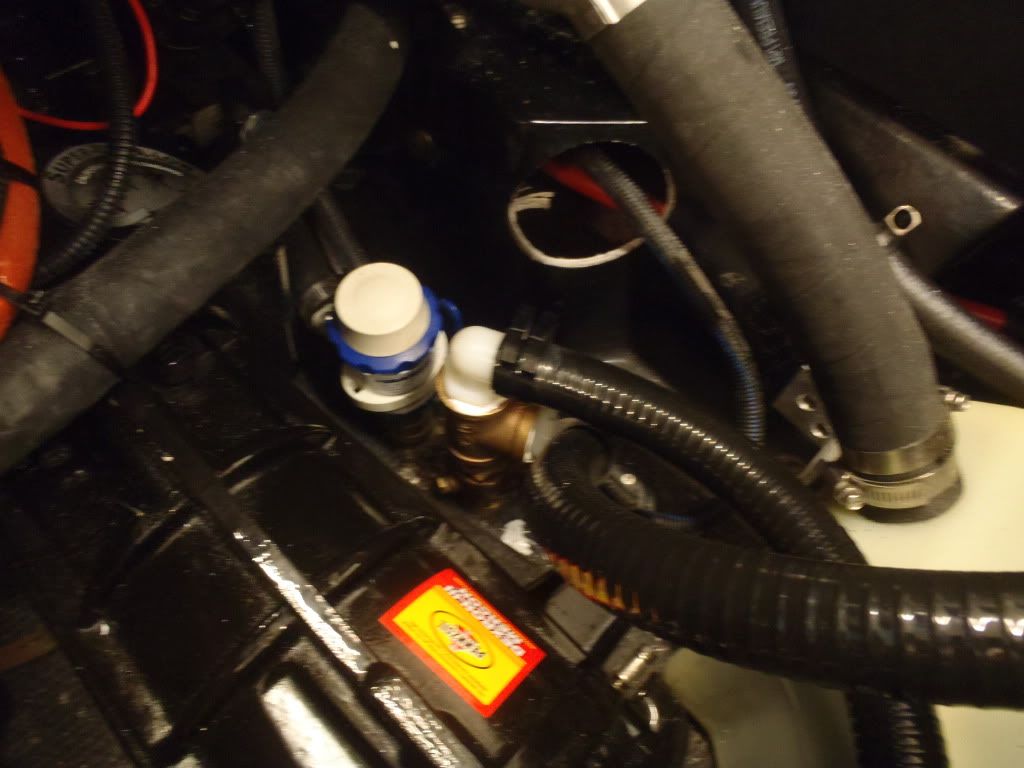
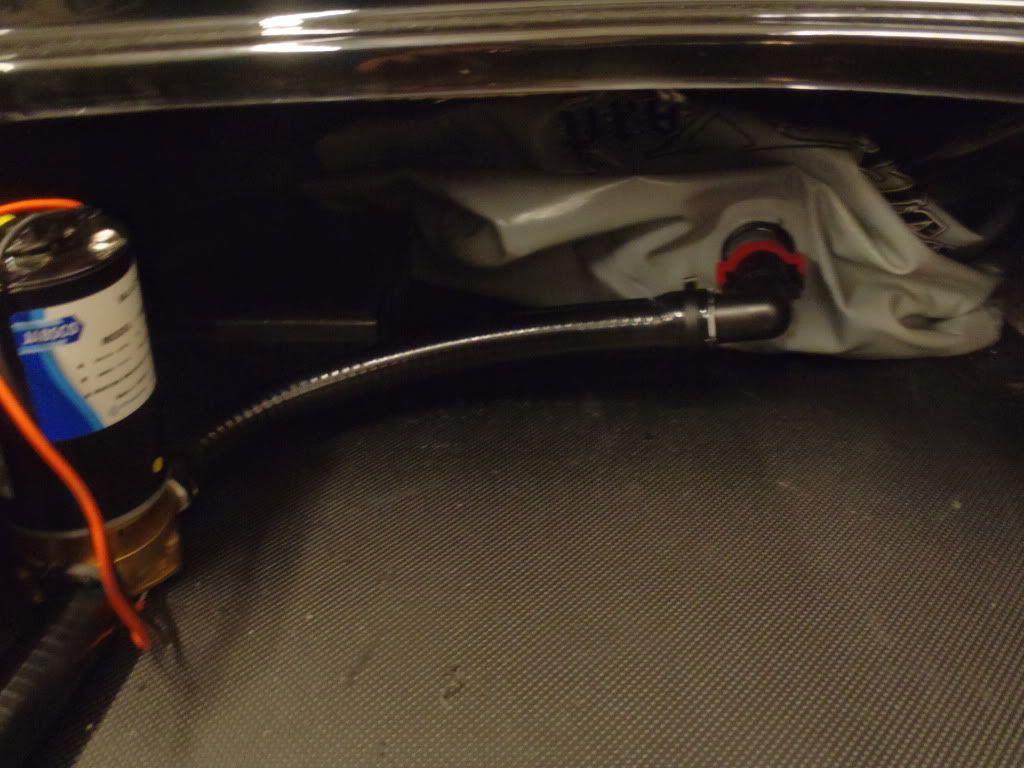
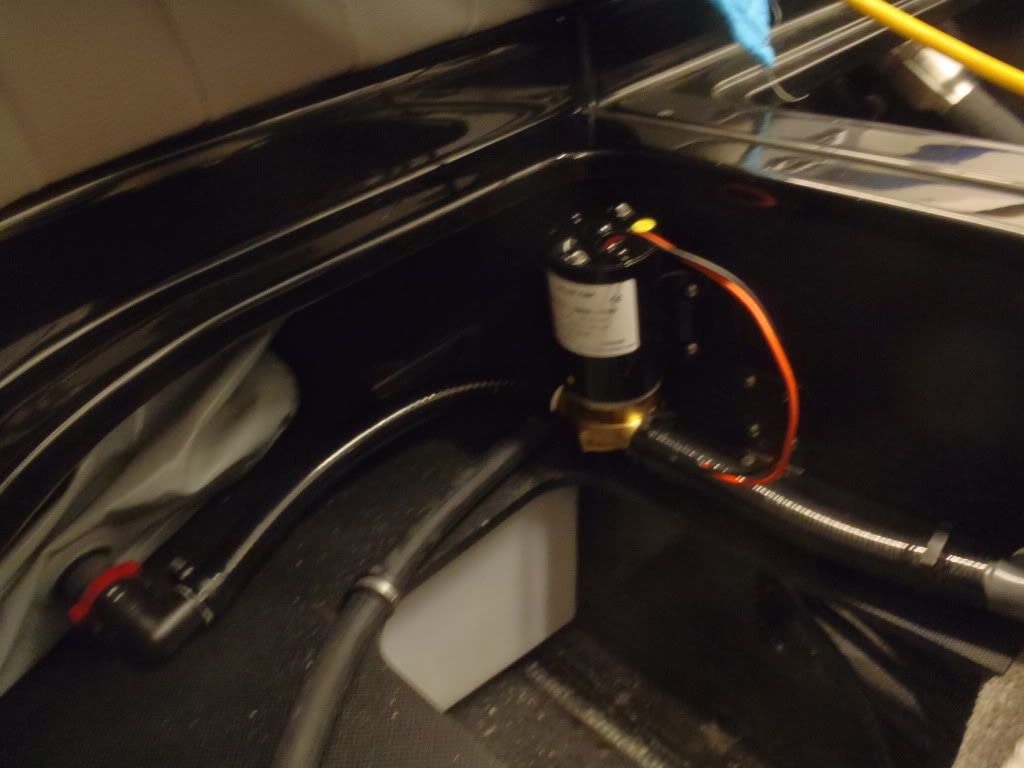
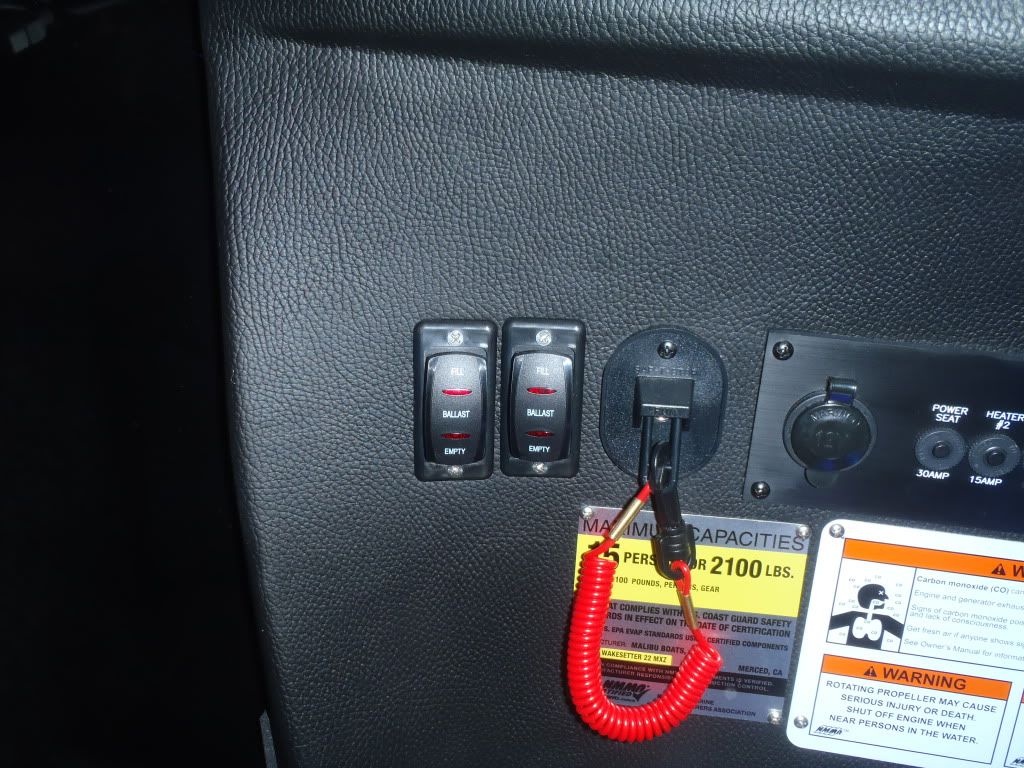
    Phase-1 = Ballast:
    A pair of 750# sac plumbed in, each with its on reversible Ballast Puppy pump. Due to the extremely tight bilge space, we mad use of an existing thru-hull hole.


    Phase-2 is the in-boat audio:
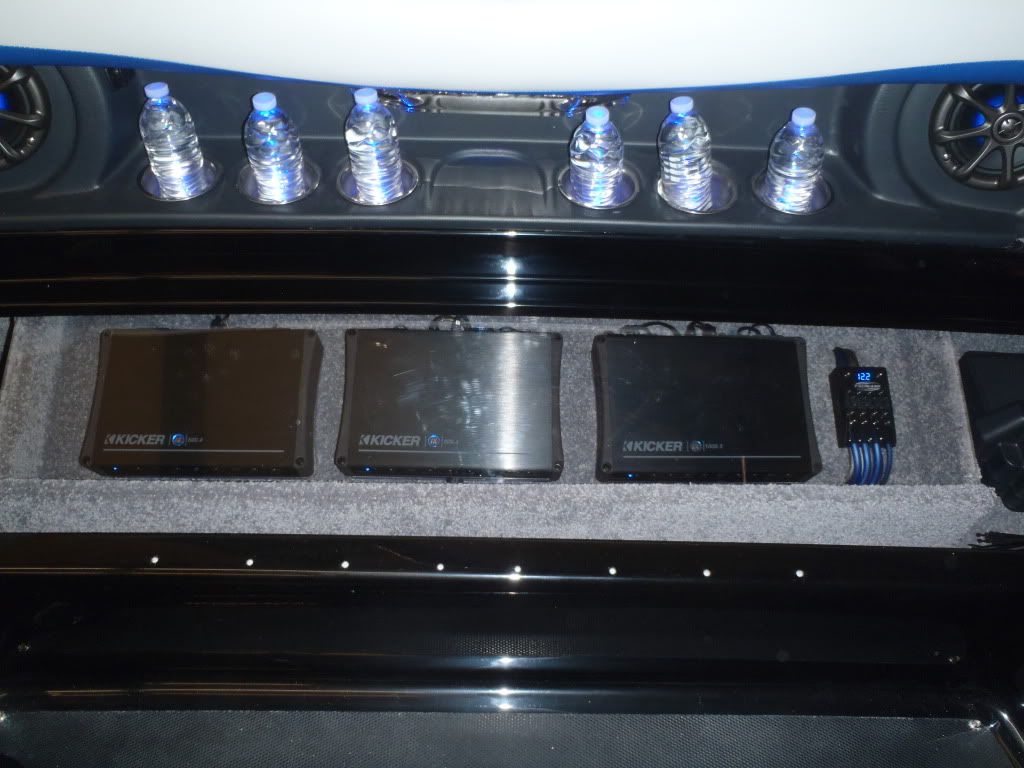
    Kicker IX1000.5 amp
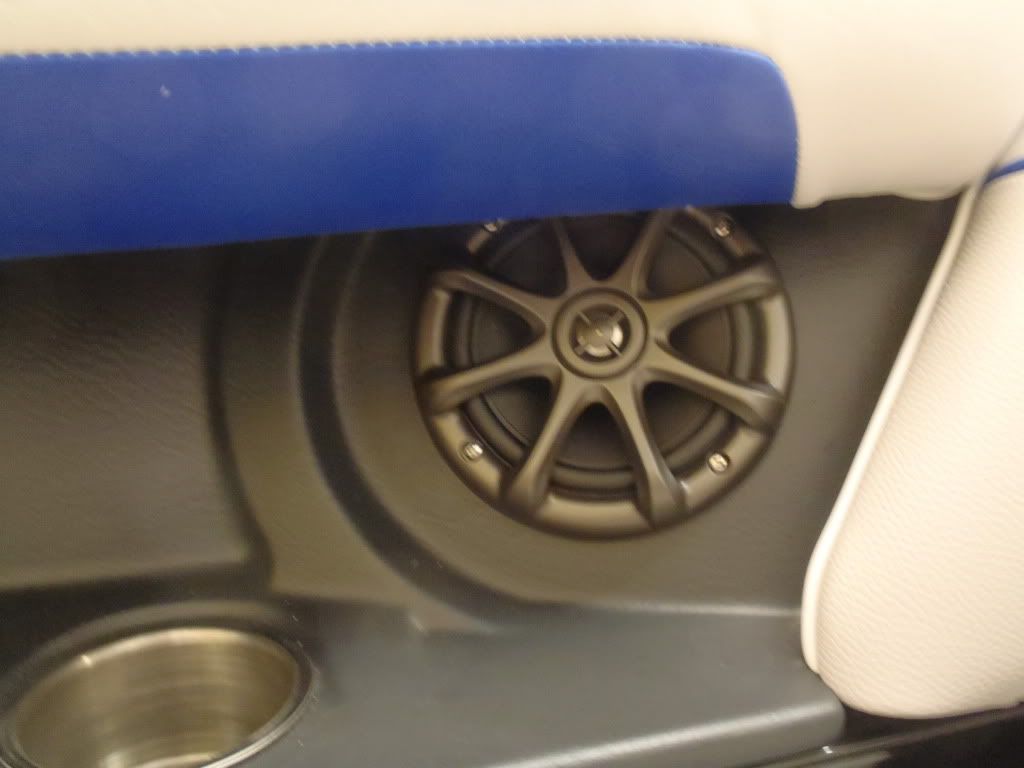
    3 pairs of KM6200
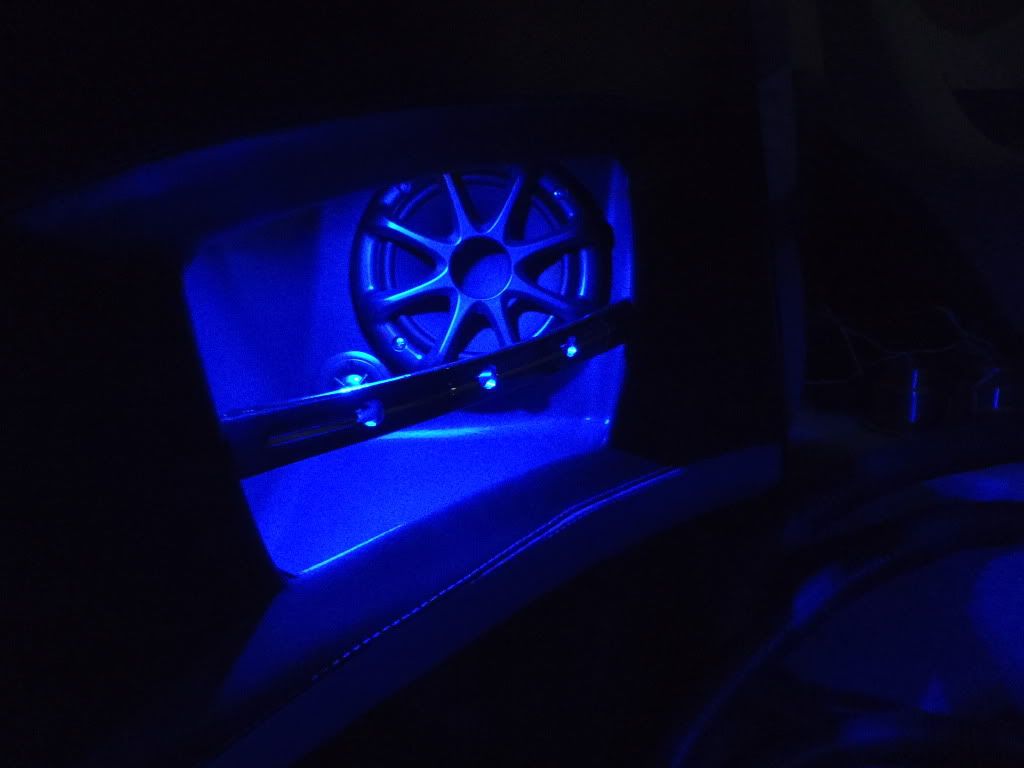
    One pair of KM62502 components in the walk-thru pockets.
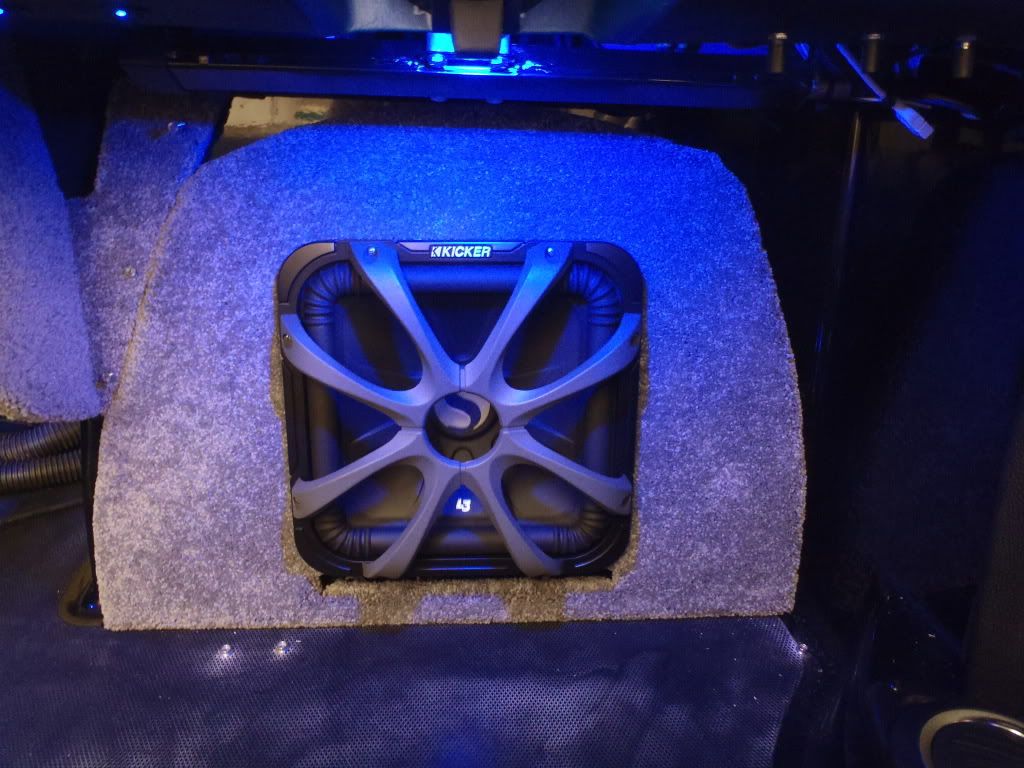
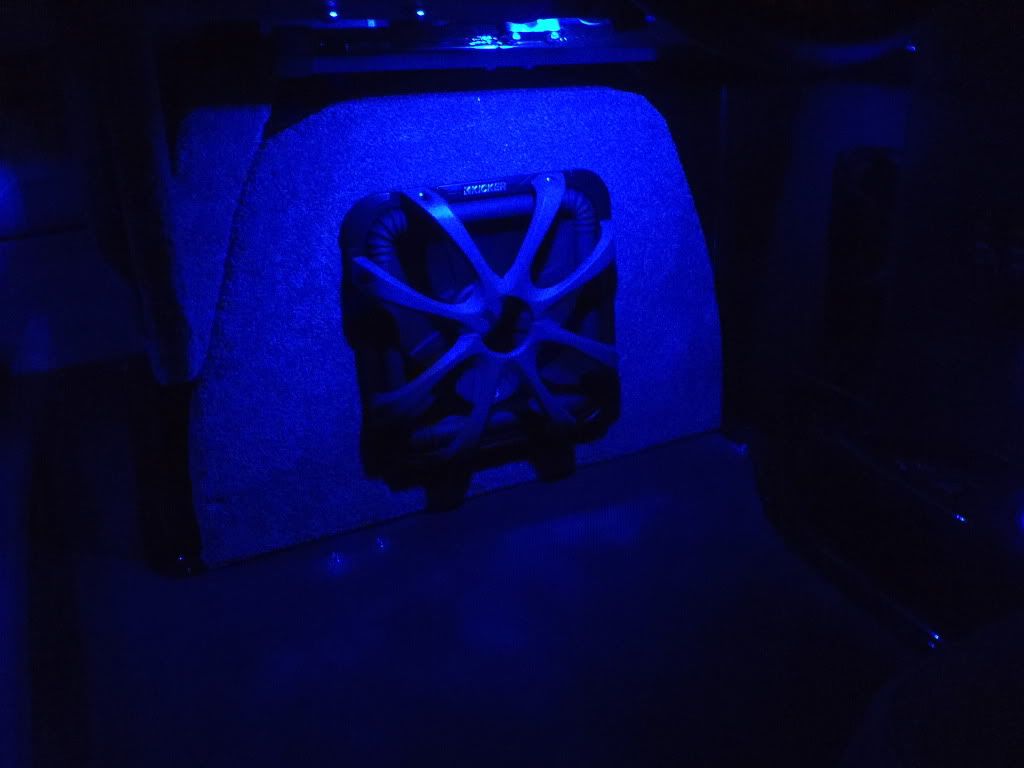
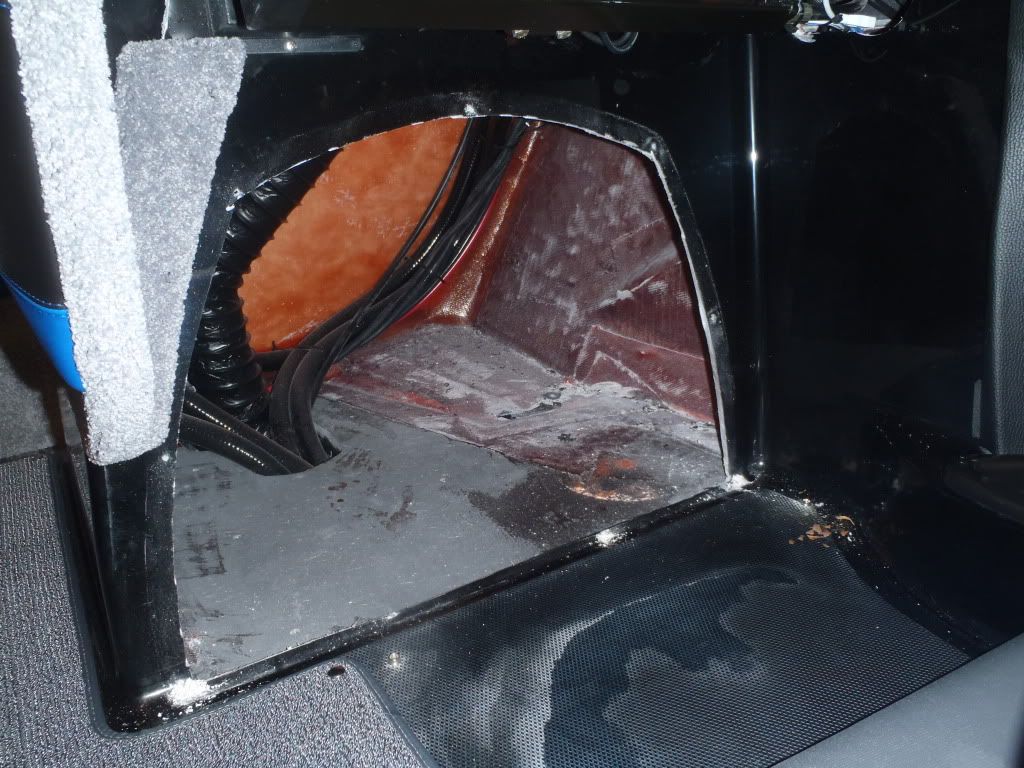
    Kicker L3-12 sub in a custom ported enclosure under the helm receiving 500 watts.
    Zone control using the ZXM-RLC. With using the Kicker sub level controller interfaced with the IX1000.5, we have 3 zones: in-boat, tower and sub.

    Kicker's new for this year charcoal speaker grills look so sick against the gray vinyl.

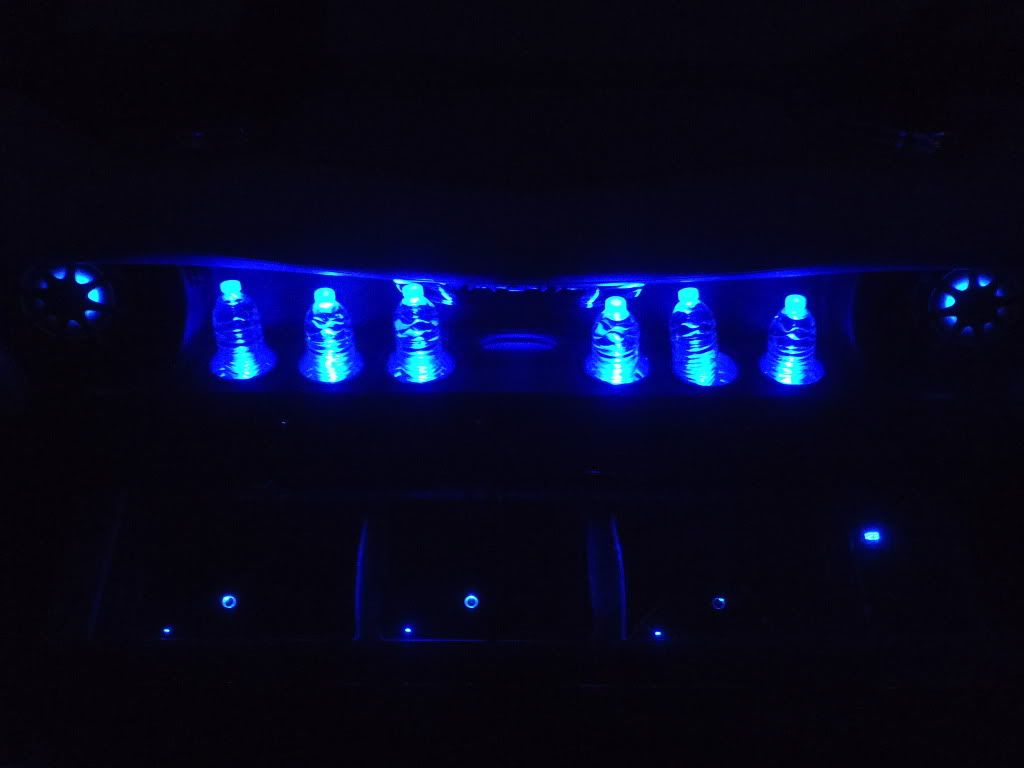
    Custom amp enclosure with acrylic lid. Decal with kicker logo is being made.


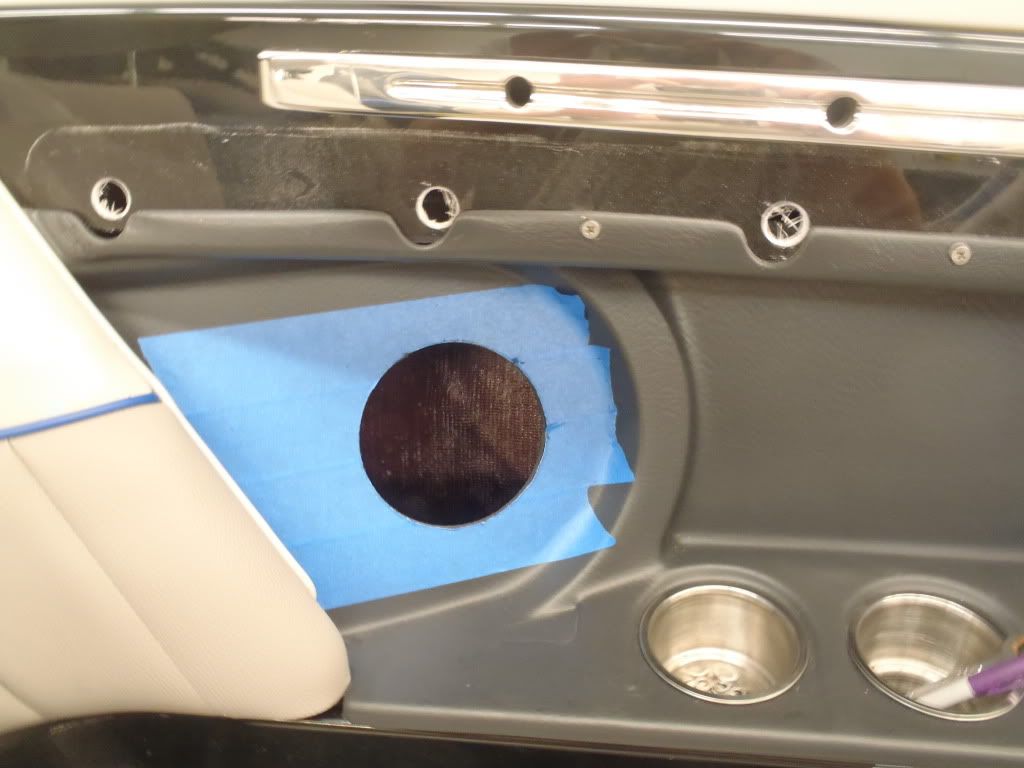
    A few before: Boat came with nothing but the head-unit and remote. This model also comes standard with 8" speakers, but ET was able to get the boat built with the speakers left out and no holes cut. We made zero mods to the helm opening. Simply pulled the factory plastic molded insert. We had no trouble fitting the 1.75 net cu/ft enclosure in there. The helm could be cut to fit a larger sub/enclosure if needed.

    Last edited by chpthril; 02-04-2012, 02:18 AM.
    Mikes Liquid Audio: Knowledge Experience Customer Service you can trust-KICKER WetSounds ACME props FlyHigh Custom Ballast Clarion LiquidLumens LEDs Roswell Wave Deflector And More

    #2
    Very nicely done Chp, looks sweet those amps under the rear bench?
    Last edited by Iwndr; 02-04-2012, 02:25 AM.
    "Failing to prepare is preparing to fail" John Wooden- Rest in Peace

    Comment


      #3
      Looks Awesome Mike!Great work as usual.Keep the pics coming.
      I do all my own stunt work. hey ya'll watch dis.

      Comment


        #4
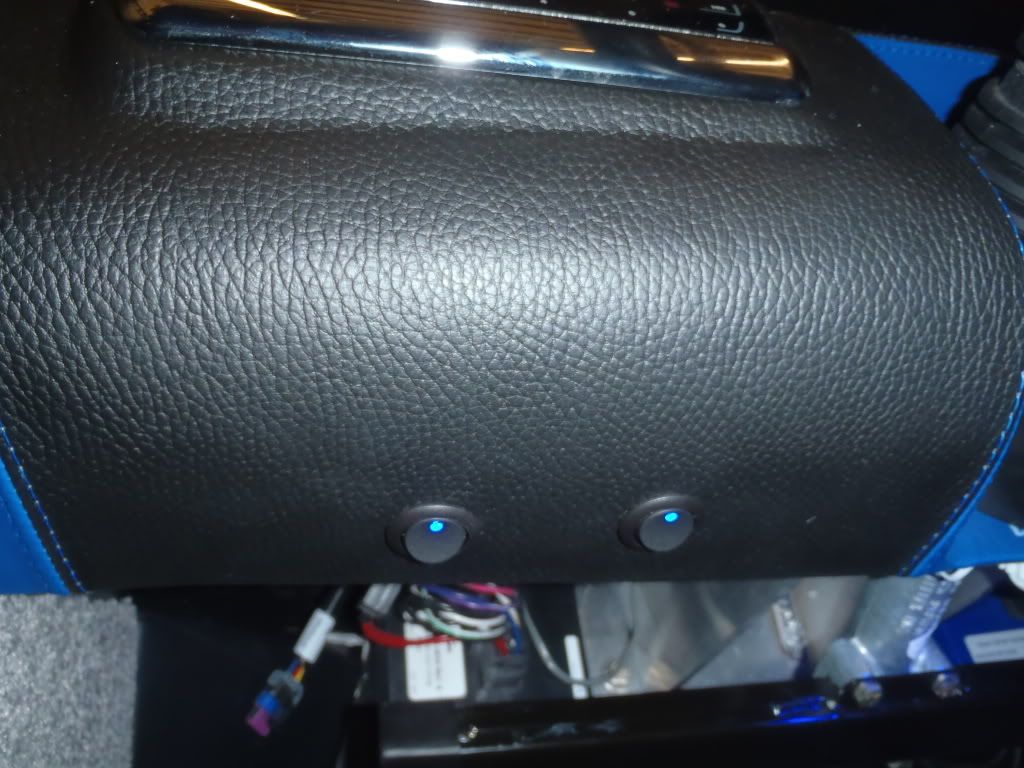
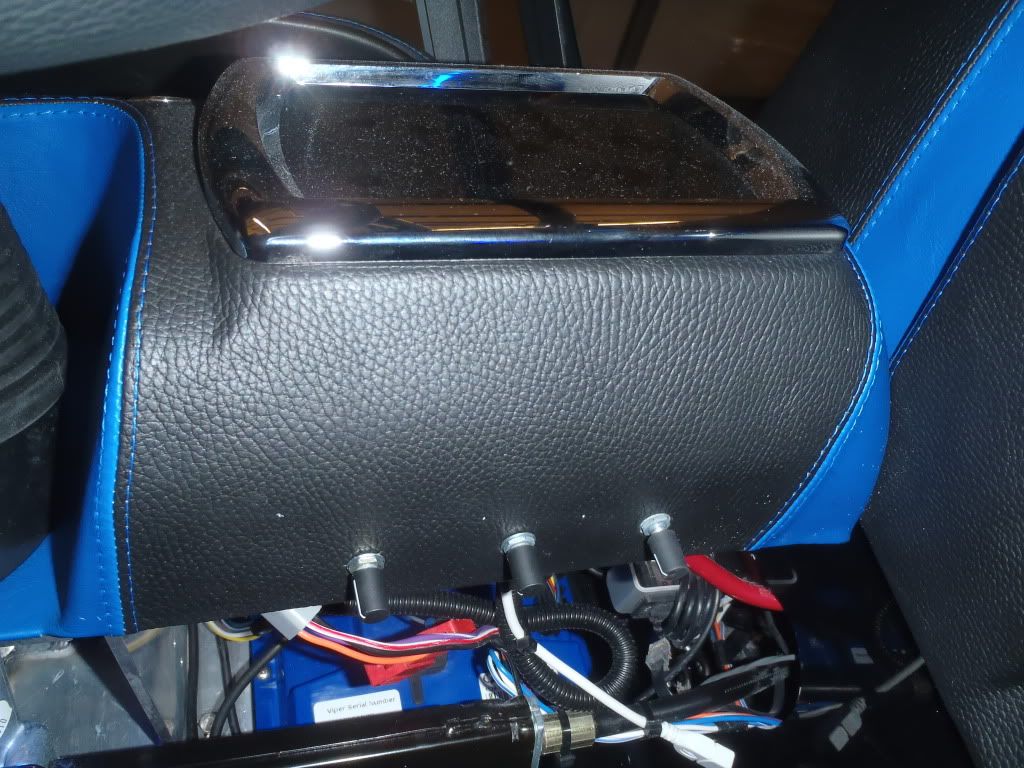
        The Head-unit has a main ON/OFF switch. This allows the use of the system without powering up the Maliveiw. This switch and the LED switch are located on the under side of the helm, to the left of the wheel. On the right side, we located the volume controls.


        Phase-3 = LEDs and power.

        System is run off an Interstate Group-29 marine deep-cycle battery ,on-board charger and Sure Power ACR.

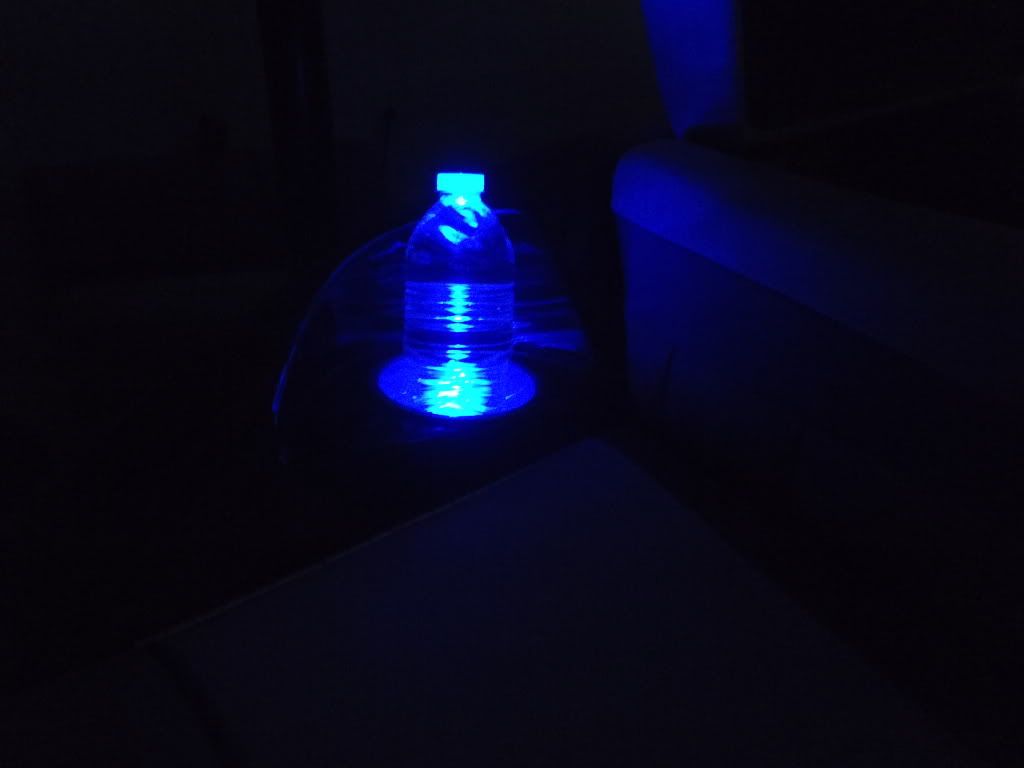
        20 cup holders
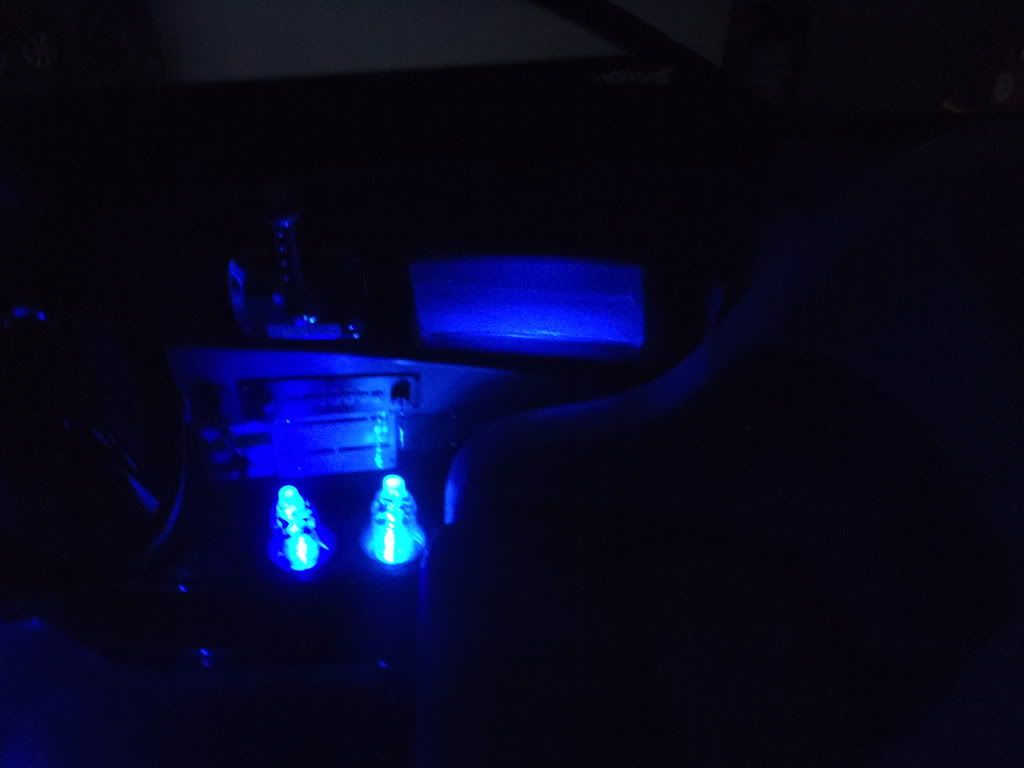
        LEDs in the 6 KM6200's and an LED pod to illuminate each KM62502.
        Pod for the sub and one in the drivers storage pocket.
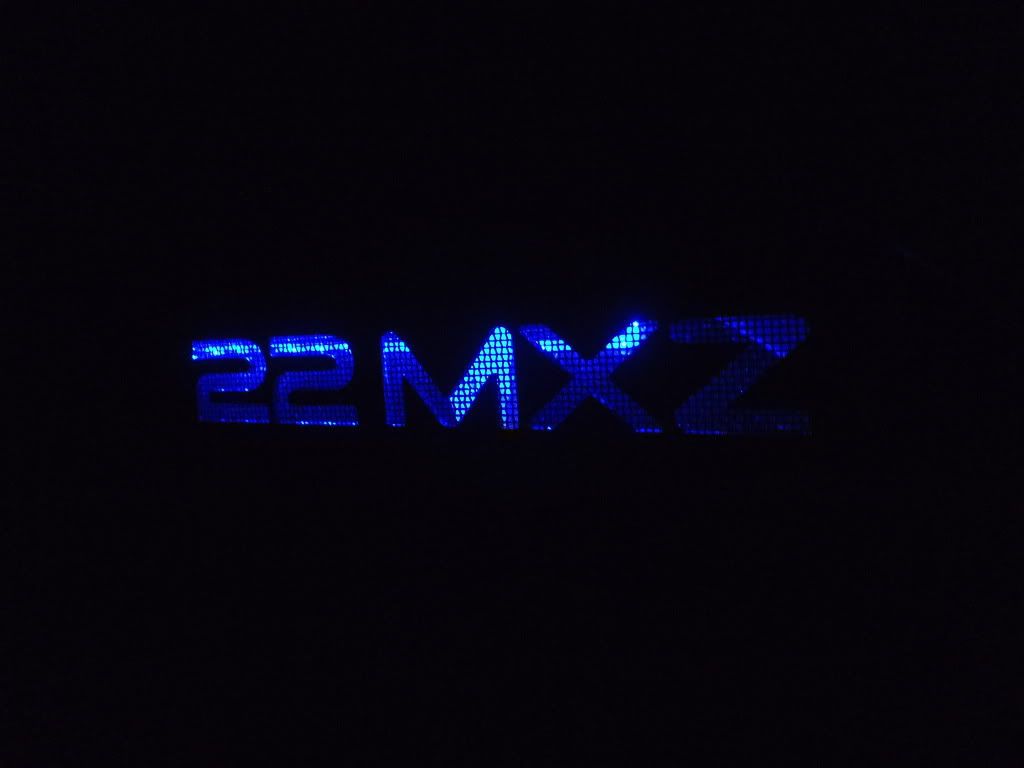
        Each "Wakesetter" on the inside and both "MXZ" emblem on the outside are back-lite with an LED strip. There is an acrylic plate under each amp that contains as 27" LED strip each.


        Fused distribution block controls the 4 LED circuits and the head-unit turn-on relay and the remote turn-on relay.


        Phase-4 will be the tower setup.
        Kicker KM6500.2 "6-Pack" system in Kickers new tower pods powered by a pair of IX500.4 amps. This will a 1000 watts RMS just to the tower.
        Mikes Liquid Audio: Knowledge Experience Customer Service you can trust-KICKER WetSounds ACME props FlyHigh Custom Ballast Clarion LiquidLumens LEDs Roswell Wave Deflector And More

        Comment


          #5
          Originally posted by Iwndr View Post
          Very nicely done Chp, looks sweet those amps under the rear bench?
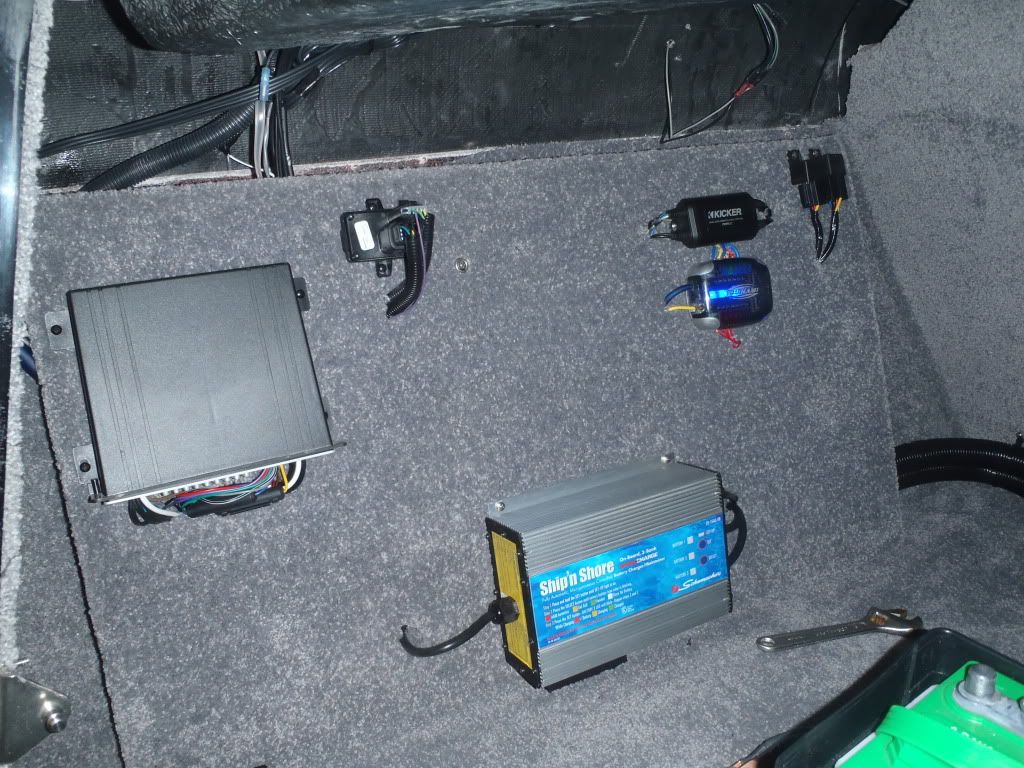
          Port side seats. No modifications. The amp rack can be removed/changed up and there will be no evidence that it was there.
          Mikes Liquid Audio: Knowledge Experience Customer Service you can trust-KICKER WetSounds ACME props FlyHigh Custom Ballast Clarion LiquidLumens LEDs Roswell Wave Deflector And More

          Comment


            #6
            I got to spend time in the boat with Mike today, he never ceases to amaze me with his work! With just the inboats and sub, it sounded great!

            Comment


              #7
              what is that terminal block called in on the right of the amps?

              Comment


                #8
                Cool work. Looks awesome!

                Comment


                  #9
                  Originally posted by jzts0214 View Post
                  what is that terminal block called in on the right of the amps?
                  Its a B+ and GND combo block with volt meter. It allows for 0Ga in and 4 4ga B+ and GND out. Its made by Tsunami. Whats not visible in the pics, is a marine rated circuit breaker just off the battery to protect the main truck line feeding the distro-block.
                  Mikes Liquid Audio: Knowledge Experience Customer Service you can trust-KICKER WetSounds ACME props FlyHigh Custom Ballast Clarion LiquidLumens LEDs Roswell Wave Deflector And More

                  Comment


                    #10
                    Looking great, Mike! Can't wait to see the complete setup!

                    Comment


                      #11
                      Looks awesome Mike! Nice work! I bet Eddie is thrilled!

                      Comment


                        #12
                        Originally posted by chpthril View Post

                        When you cut in the vinyl, where the ballast switches are, what do you have to do so it doesn't come loose? Or is cutting then the bezel enough to hold it?

                        Comment


                          #13
                          Hey Mike, do you have anyone around you that can do sandblasting? Would be cool to get the Kicker and Malibu logos sandblasted into the plexi and then light the plexi from the side and the logos will jump out at you!

                          Comment


                            #14
                            Looks great....can't wait to see the new Kicker tower pods...

                            Comment


                              #15
                              Originally posted by skippabcool View Post
                              When you cut in the vinyl, where the ballast switches are, what do you have to do so it doesn't come loose? Or is cutting then the bezel enough to hold it?
                              Thats a 1/4" thick thermo-formed panel thats covered with vinyl. The vinyl cover is glued on, so it should not come loose once the switch/bezel is installed. The bezel itself has screw holes for securing it and the switches have tabs on the top and bottom that will lock it into the bezel or the panel is you installed minus the bezel.
                              Mikes Liquid Audio: Knowledge Experience Customer Service you can trust-KICKER WetSounds ACME props FlyHigh Custom Ballast Clarion LiquidLumens LEDs Roswell Wave Deflector And More

                              Comment

                              Working...
                              X