After reading EKS's and G-Money's threads about their system, I contacted SPBFAN and ordered up the three bag system with the Ballast Puppy pumps. My system is pretty close to G-Money's but I upsized the intake and added fill lines to each sac rather than pump in and out of the same sac opening.
While waiting for the equipment to arrive, it was time to demo the boat and see where I was going to drill thru the hull and how the plumbing and wiring was going to run foward.
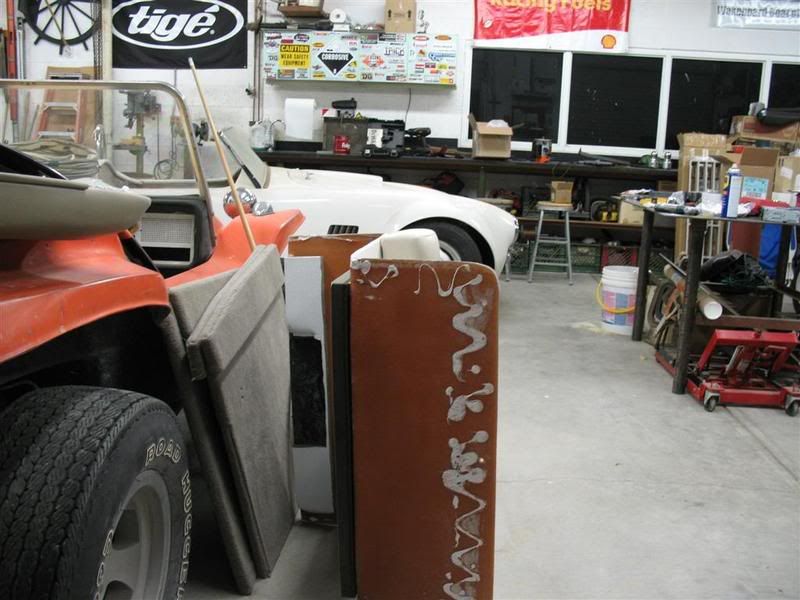
Removing the rear seat was a chore in itself. After removing the rear seat back pad, this exposed the bolts that held the seat back to the hull. I removed those three bolts and the bolts in the carpet base and still the seat section would not pull loose. I found that Tige must use the same fast set sealer that I plan to use on the thru hull pick up to glue the seat assembly to the hull. An hour later, after pounding wedges between the seat back and the hull, the fiberglass seat unit popped loose.
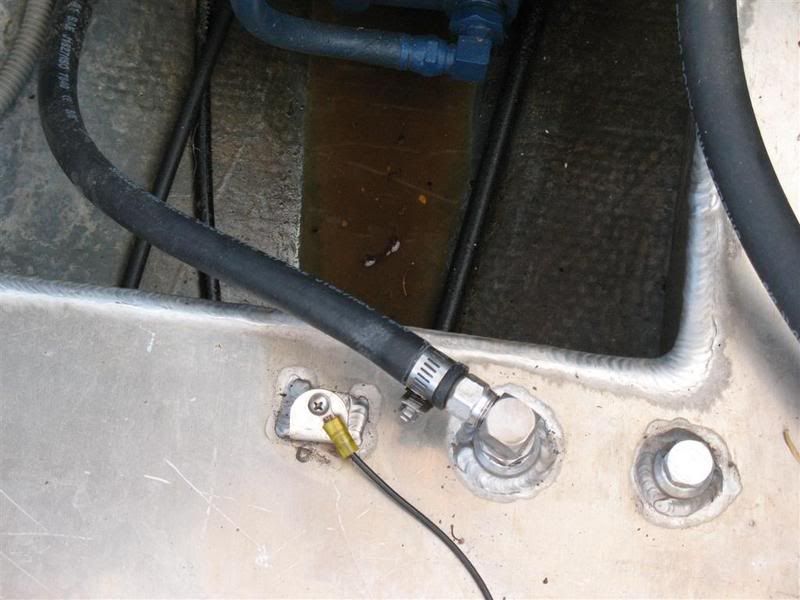
I removed the floor (2 bolts under the seat section) and exposed the gas tank. This is where I found the fitting at the tank leaking gas into the bottom of the boat. I guess it was time for this project ot begin.
Gas in the bottom of the boat
Notice the rear of the seat back
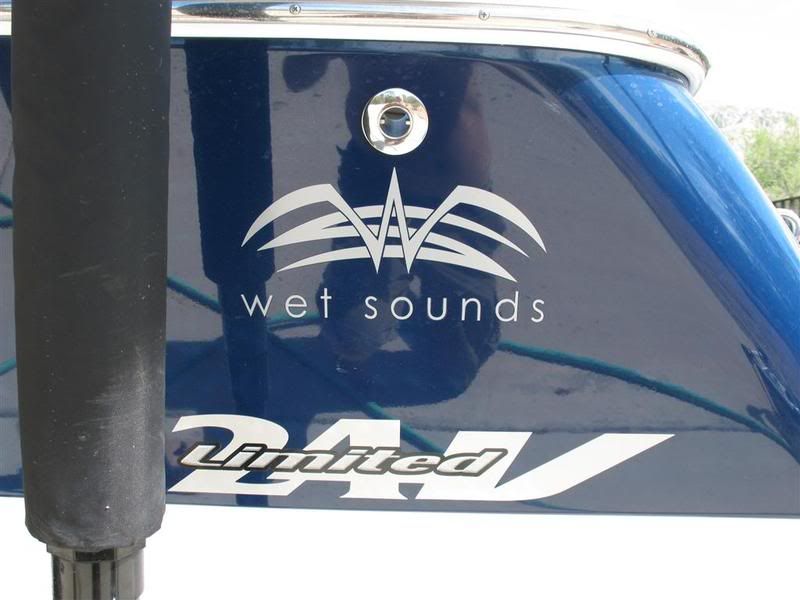
After fixing the gas leak, the holes for the two rear vents were drilled. As said by many, pre-drill a scrap piece of wood to verify the correct hole saw to use. I drilled from both sides to keep the carpet cut neat. I used the stainless steel vents ($15.00 each delivered) and used the 3M sealer on each.
Next, I decided to do the pump wiring for each of the three pumps since the equipment was still on order.
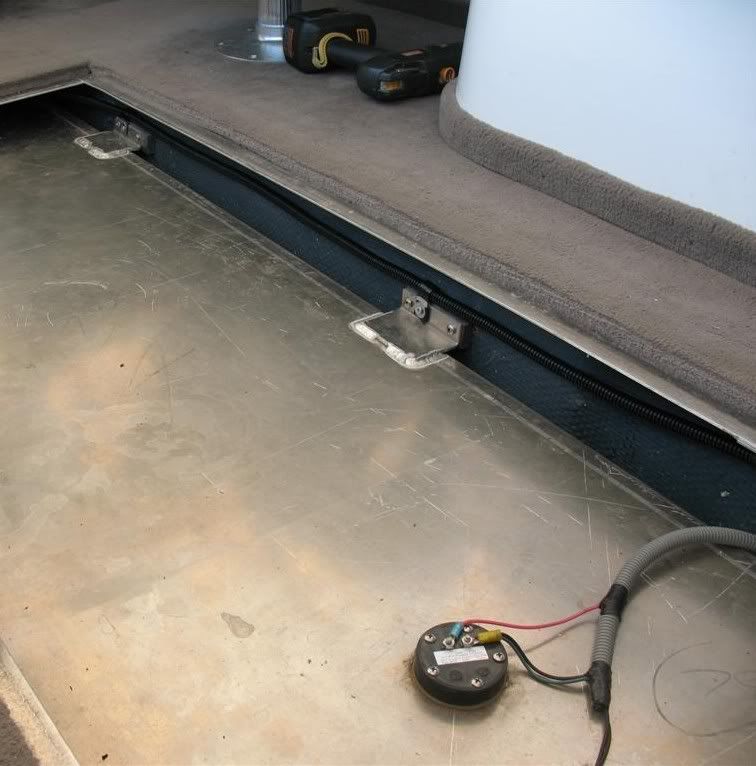
I used #12 stranded wire in a wire loom. The front loom was connected to the starboard gas tank brackets via rubber insulated loom clamps.
Both the rear pumps were routed up under the top of the hull with the factory wiring with wire ties to the future locations on the back of each of the rear seats.
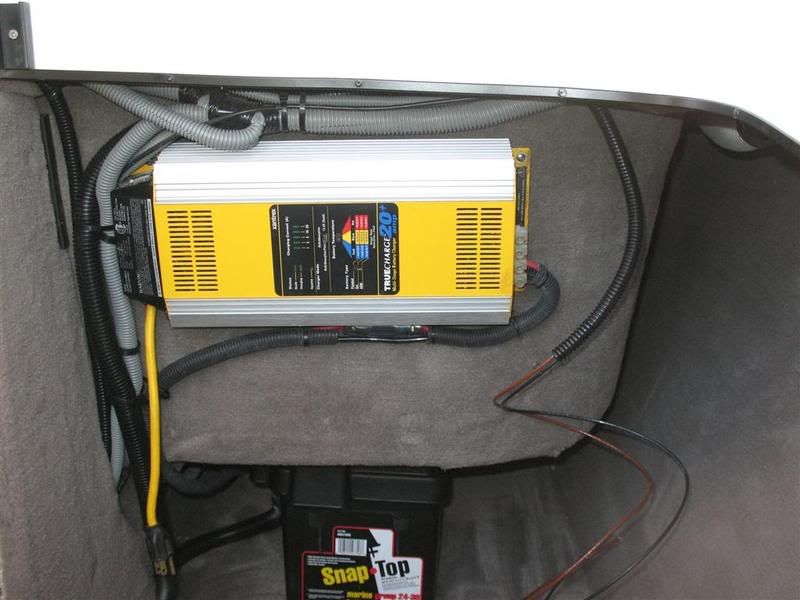
Right side to be mounted to left of battery charger
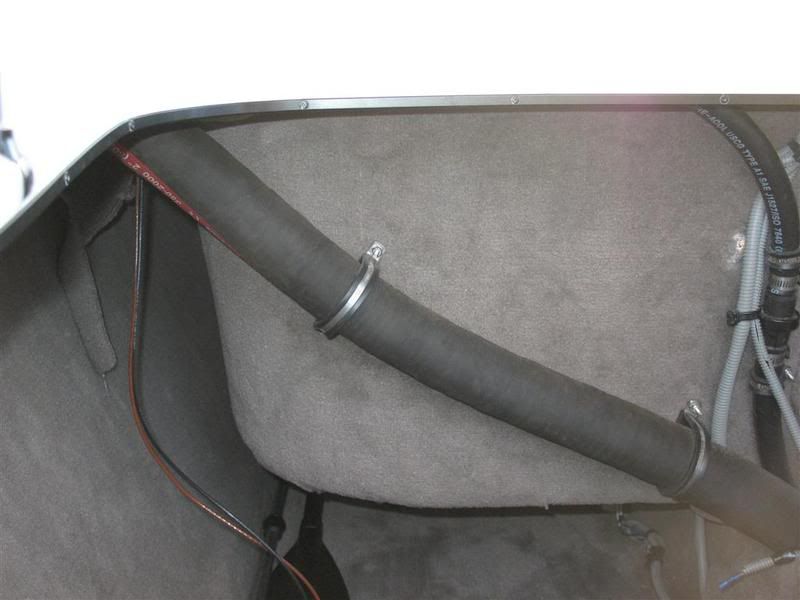
Left side to be mounted just above gas fill hose
More later-back to work...
While waiting for the equipment to arrive, it was time to demo the boat and see where I was going to drill thru the hull and how the plumbing and wiring was going to run foward.
Removing the rear seat was a chore in itself. After removing the rear seat back pad, this exposed the bolts that held the seat back to the hull. I removed those three bolts and the bolts in the carpet base and still the seat section would not pull loose. I found that Tige must use the same fast set sealer that I plan to use on the thru hull pick up to glue the seat assembly to the hull. An hour later, after pounding wedges between the seat back and the hull, the fiberglass seat unit popped loose.
I removed the floor (2 bolts under the seat section) and exposed the gas tank. This is where I found the fitting at the tank leaking gas into the bottom of the boat. I guess it was time for this project ot begin.
Gas in the bottom of the boat

Notice the rear of the seat back

After fixing the gas leak, the holes for the two rear vents were drilled. As said by many, pre-drill a scrap piece of wood to verify the correct hole saw to use. I drilled from both sides to keep the carpet cut neat. I used the stainless steel vents ($15.00 each delivered) and used the 3M sealer on each.

Next, I decided to do the pump wiring for each of the three pumps since the equipment was still on order.
I used #12 stranded wire in a wire loom. The front loom was connected to the starboard gas tank brackets via rubber insulated loom clamps.

Both the rear pumps were routed up under the top of the hull with the factory wiring with wire ties to the future locations on the back of each of the rear seats.
Right side to be mounted to left of battery charger

Left side to be mounted just above gas fill hose

More later-back to work...

 WOW, good thing you foihnd the gas leak
 [/QUOTE]


 I feel that a project may be under way again!
Comment