If this is your first visit, be sure to
check out the FAQ by clicking the
link above. You may have to register
before you can post: click the register link above to proceed. To start viewing messages,
select the forum that you want to visit from the selection below.
One thing that I was disappointed about it is the thickness of the fiberglass and gel coat on the bottom of the boat. All together as about 1/4" thick on the bottom. I'll post some pictures later.
Tige has gone really cheap lately on some stuff.
Well, you still have the Lifetime Hull Warranty.
But, 1/4 inches does seem a little small for that area.
One thing that I was disappointed about it is the thickness of the fiberglass and gel coat on the bottom of the boat. All together as about 1/4" thick on the bottom. I'll post some pictures later.
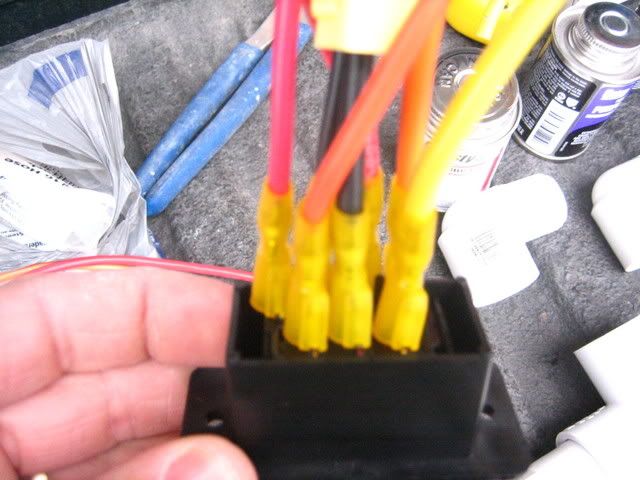
I am trying to get this photo bucket thing to work. We took the back seat out then the center floor lifts straight up and you will see how from there to get it out. It is pretty easy. So lets see how this photo bucket works.
I am trying to get this photo bucket thing to work. We took the back seat out then the center floor lifts straight up and you will see how from there to get it out. It is pretty easy. So lets see how this photo bucket works.
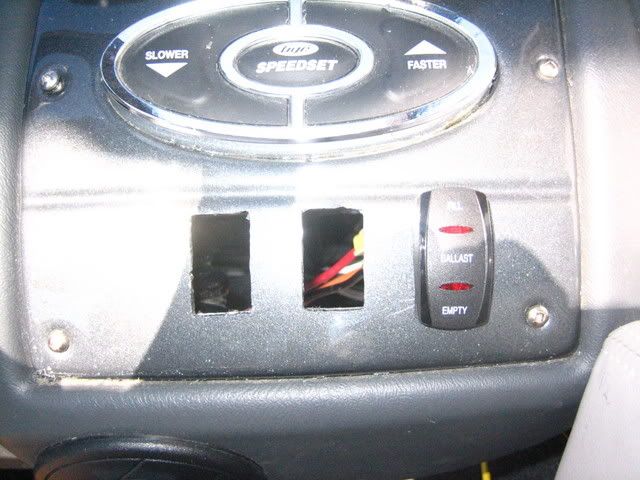
The switch is showing the incorrect way for wiring. The yellow wire needs to change places with the black wire. Correct me if I am wrong G-Money.
Also, did you remove that panel in the floor of the main cabin for running the wires or how did you do all of that? I tried to get mine out to get to the V-drive for winterization and it seemed like I was bending it to get it out, wasn't sure which way it flipped or if it was hinged or ?
timmy, you have to pull your center back seat out, then the floor panel will pull up at the back and then you have to pull it back, there are some catches up front that will not allow you to pull it straight up.
Also, did you remove that panel in the floor of the main cabin for running the wires or how did you do all of that? I tried to get mine out to get to the V-drive for winterization and it seemed like I was bending it to get it out, wasn't sure which way it flipped or if it was hinged or ?


 [/IMG]
 [/IMG]
 [/IMG]


Leave a comment: