
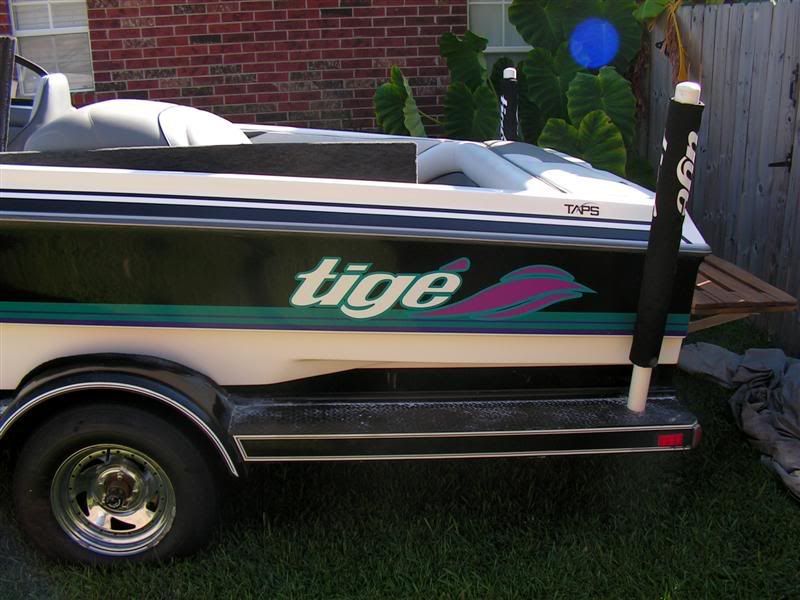
Lighting is not perfect, but here is my new vinyl, afte the polish, and redoing the teak. I shoul dhave my tower before next season. Right now I am re-running the vent blower ducting, so I figured I'd fire off a few pics. Look closely at the chalky color stirpes and the weathered teak.....biggest changes there. In the rear, the pictures of before don't really tell the tale. It was really bad. I am sure Razz can vouch for how pics make it look better than it is. Now it's as smooth as glass........
It was on the trailer when I did it, and you can see where the residue ran down off the white.......I'll need to pressure wash that off.
before front port, I circled where the strap for the skylon was....I pulled it back to see how bad the gelcoat was:

after:

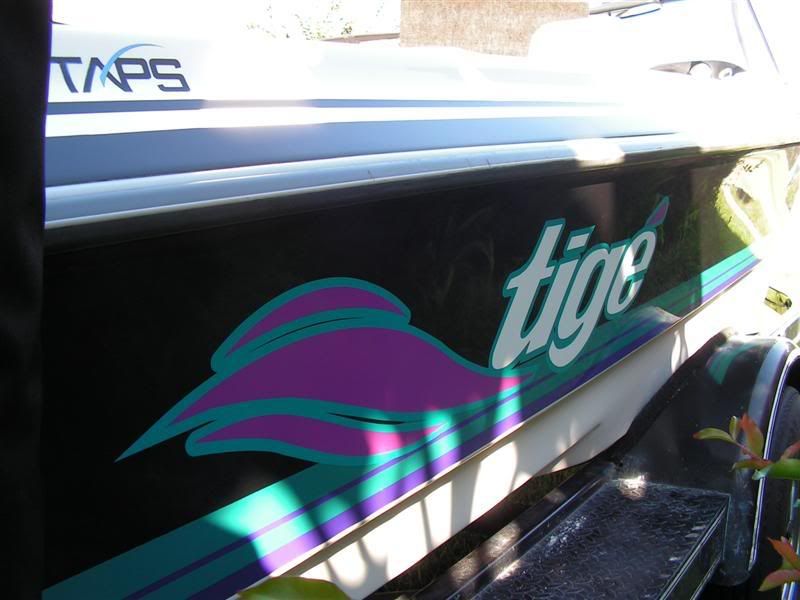
before fron star:

after:

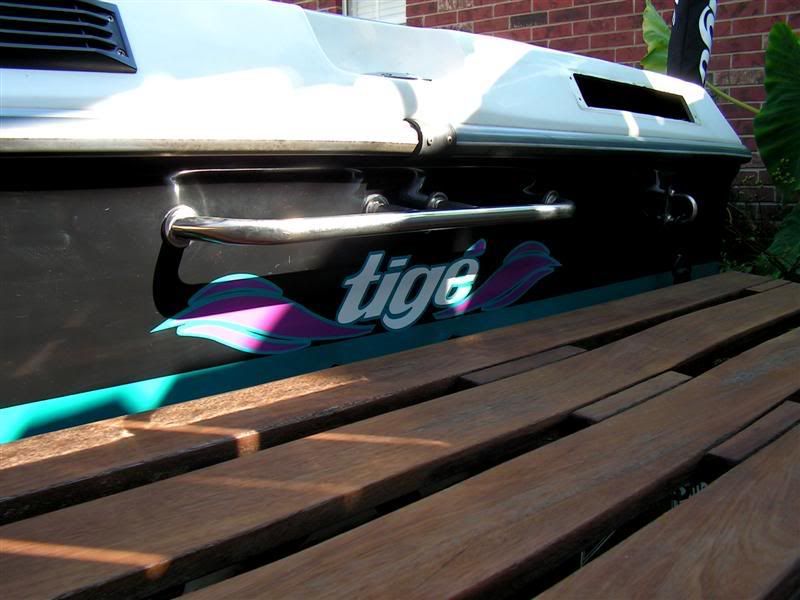
before rearish

After:
ignore the dust from the dirty rag I used when I wiped it down last:
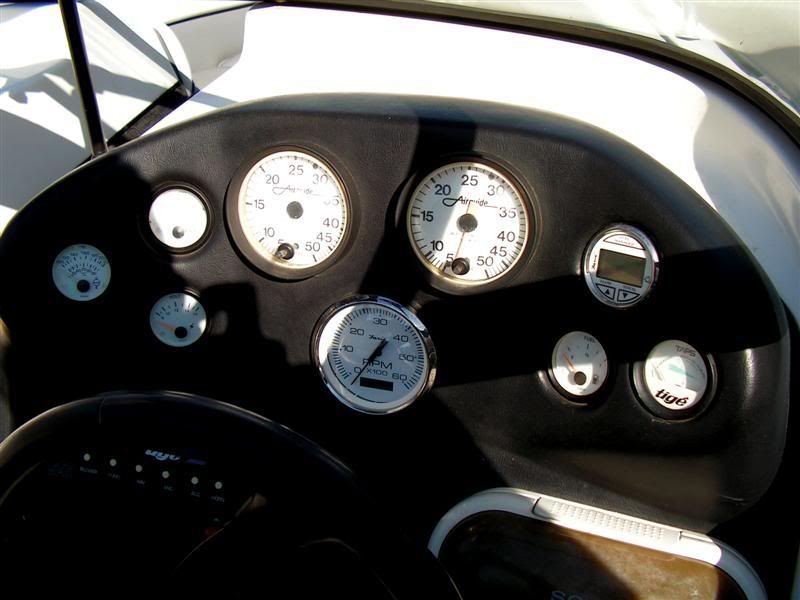
And the new instruments....one day I will get the rest.

after:
It was on the trailer when I did it, and you can see where the residue ran down off the white.......I'll need to pressure wash that off.
before front port, I circled where the strap for the skylon was....I pulled it back to see how bad the gelcoat was:
after:
before fron star:
after:
before rearish
After:
ignore the dust from the dirty rag I used when I wiped it down last:
And the new instruments....one day I will get the rest.
after:
Comment