Actually, those are the same ones i use.........left over form my days turning wrenches.
Announcement
Collapse
No announcement yet.
My Winter Projects
Collapse
X
-
Those clamps look identical to the ones I use when repairing poly pipe on sprinkler system
http://www.homedepot.com/s/poly%2520clamp?NCNI-5
The pliers are also substantially cheaper than CV boot pliers & pretty readily available.
Comment
-
Pry them open, toss and use a new one when reassembling.Mikes Liquid Audio: Knowledge Experience Customer Service you can trust-KICKER WetSounds ACME props FlyHigh Custom Ballast Clarion LiquidLumens LEDs Roswell Wave Deflector And More
Comment
-
So I got to taking the boat further apart tonight (while my helper enjoyed Honey I Shrunk the Kids). Took out the seat and the free air sub and speaker. I'm basically just snooping around to see how to install an XS12 should one show up under the tree this year.
It looks like the main electrical "panel" can be moved upwards by 4 to 5", thus creating room for a sub box. For those who've done this do you recall how many screws needed to come out? Each component is screwed to the plastic board, and it looks like the plastic board is then screwed to the wood/fiber baffle. I guess my question is, are the screws in each component pushing through into the baffle? If so this job gets a lot harder. I have to back off every screw in the board.
On the flip side the heater is mounted quite low. I intend to move it up to the very top (right under the dashboard). Has anyone done this? It appears to just be 4 screws and then extend the 1" OD water hoses.
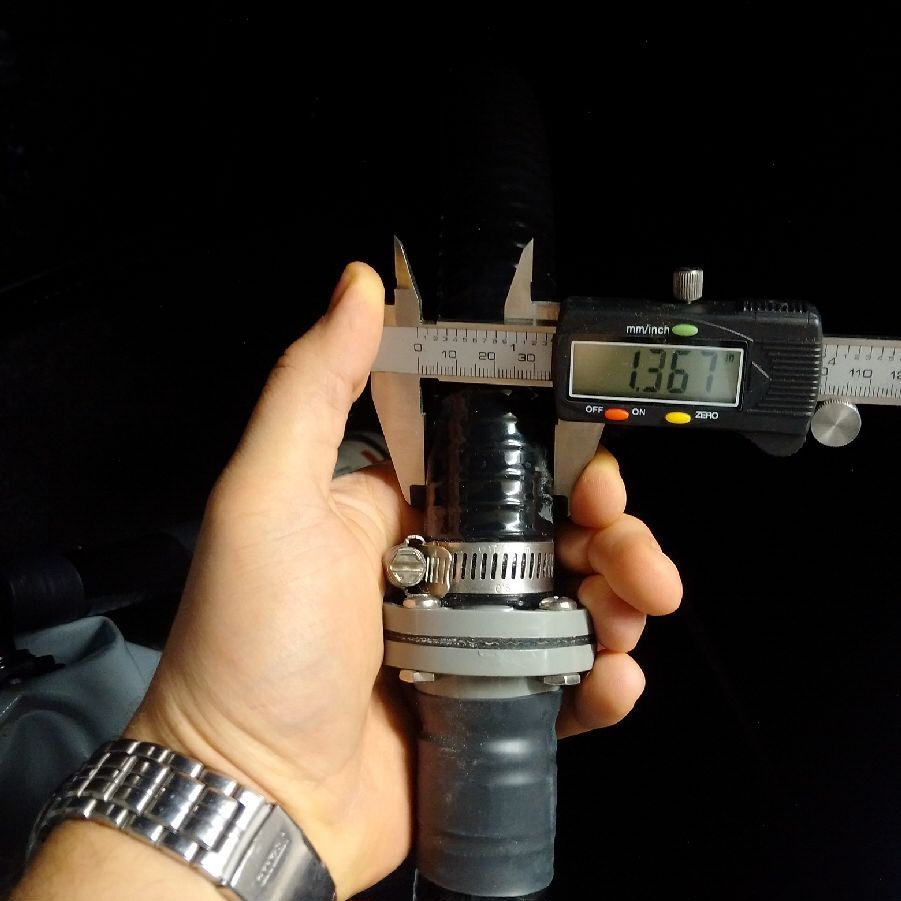
That's about all I learned today..... oh and my ballast hoses are 1 13/16" OD. What does that translate to ID?
Tigé sure did a nice job mounting that seat hey?
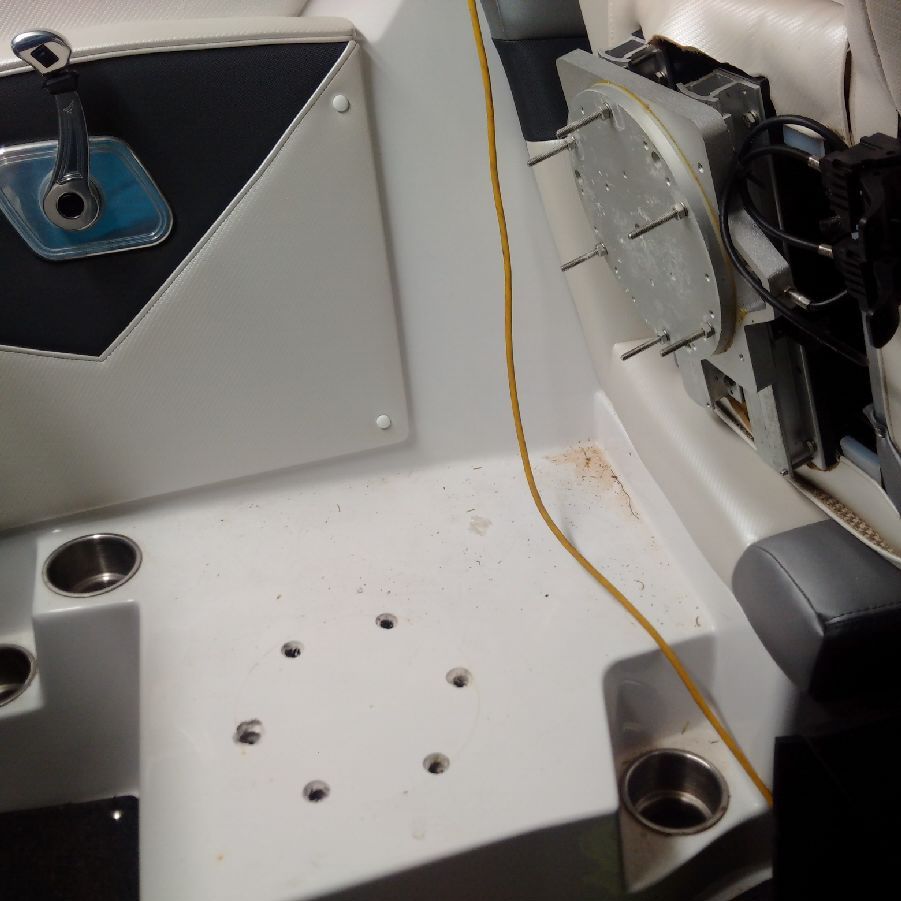
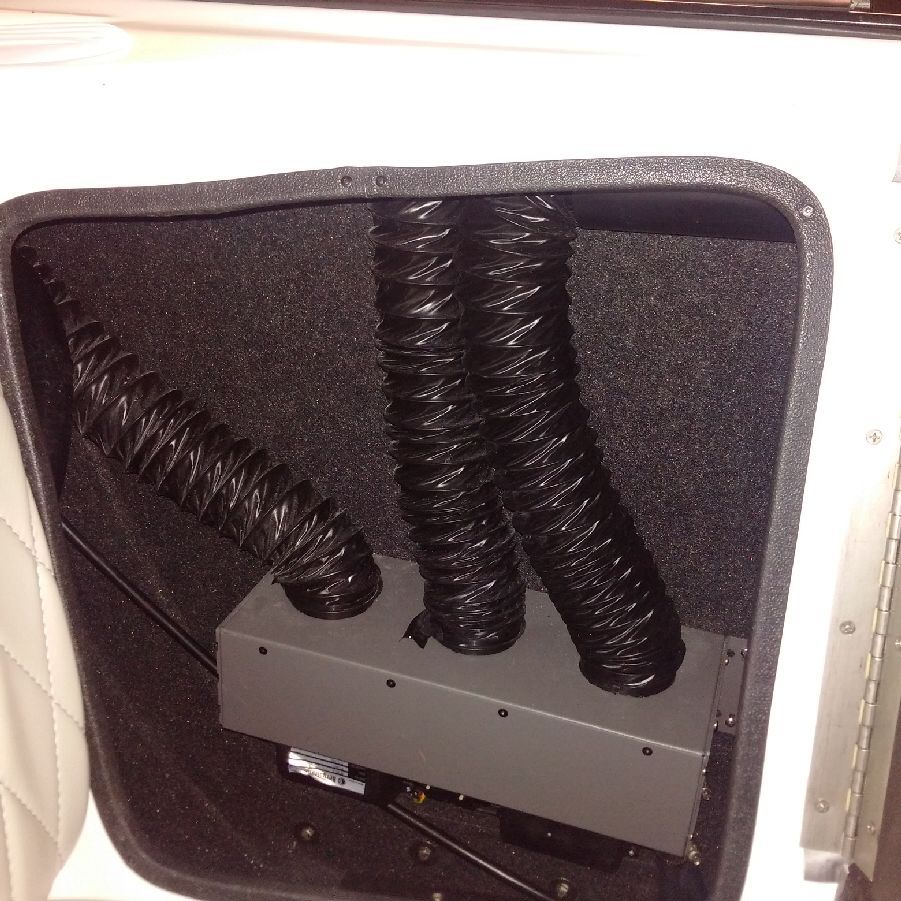
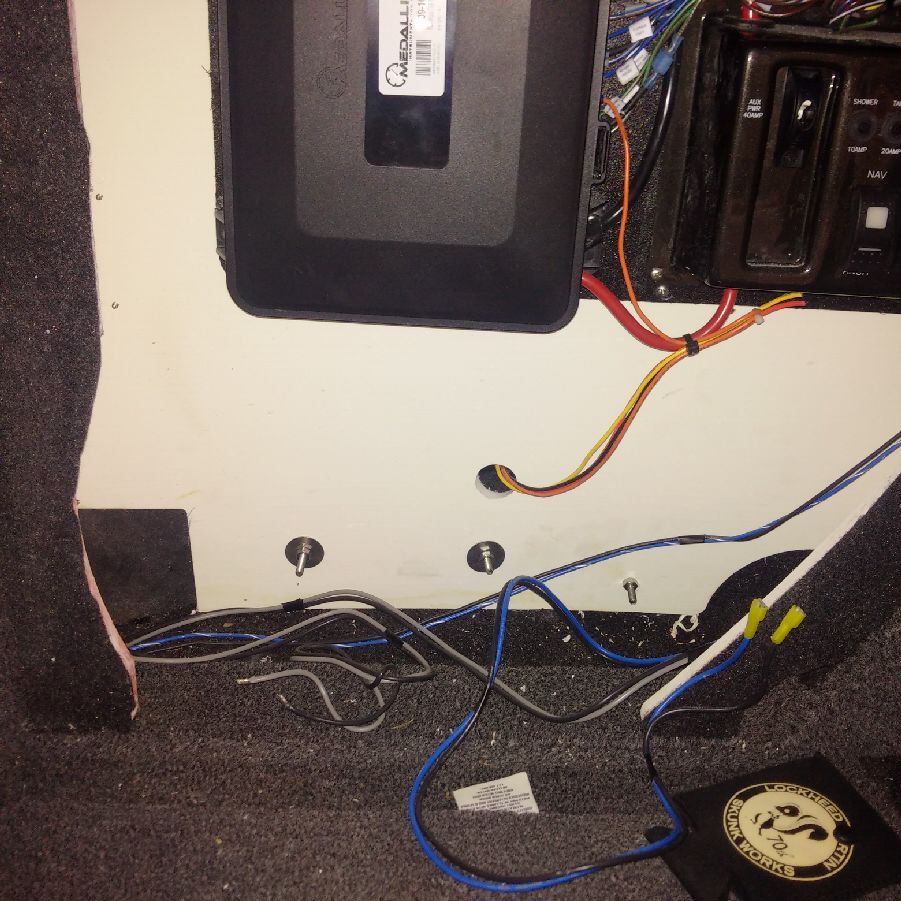
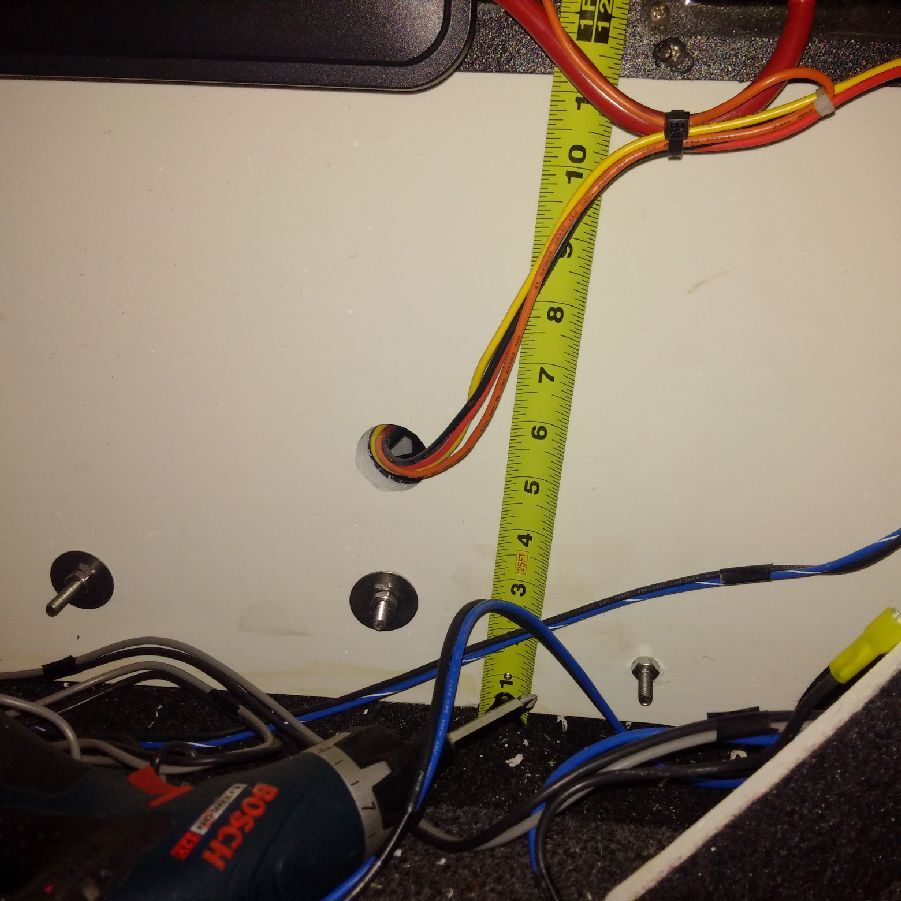
Sent from my Passport
Comment
-
Regarding moving the heater higher, do you have a closed cooled motor (the 6l 409 is)? If so, Heater craft told me you need to be careful if the heater is at a higher elevation than the coolant reservoir unless you add a circulation pump. I used a circ pump on my heater and it let me mount my heater high.Mods: MLA BIG Ballast System (1800+ Custom sacs, 2 500 W705 sacs under bow), Duffy Surf Flap Mod, Trimmed Swim Deck, Top-Mount Starter
Comment
-
 Tigé Junkie
- May 2013
- 920
- Central MN
- 2007 22Ve & 2015 Boston Whaler SS150 Previous: 2014 G23, 2013 Z1, 1997 Marada I/O
Thoughts on building a down firing enclosure for the sub and installing it in the space below the drivers seat. Remove the storage compartment on the front of the seat base and replace it with a grill. Just a fairly random thought."I think I am pretty smart for an idiot"
Comment
-
It is an externally cooled PCM EX343.Originally posted by Stingreye View PostRegarding moving the heater higher, do you have a closed cooled motor (the 6l 409 is)? If so, Heater craft told me you need to be careful if the heater is at a higher elevation than the coolant reservoir unless you add a circulation pump. I used a circ pump on my heater and it let me mount my heater high.
I was thinking this could be a problem. I hope someone knows definitively. There's obviously a water pump in the motor regardless but I don't want it to be compromised.
Sent from my Passport
Comment
-
I thought about this too!!! There's not a ton of room but it may be possible. I wonder what's underneath the floor in that spot....Originally posted by Dandy View PostThoughts on building a down firing enclosure for the sub and installing it in the space below the drivers seat. Remove the storage compartment on the front of the seat base and replace it with a grill. Just a fairly random thought.
Sent from my Passport
Comment
-
Pretty sure the problem was isolated to closed loop cooled engines and the reservoir of anti freeze created an air pocket and would cause the engine to over heat at idle (going off memory so I could have it wrong on what exactly happens).Originally posted by JohnnieMo View PostIt is an externally cooled PCM EX343.
I was thinking this could be a problem. I hope someone knows definitively. There's obviously a water pump in the motor regardless but I don't want it to be compromised.
Sent from my Passport
I don't think the open loop cooling matters because it doesn't have the overflow reservoir. However, I am by no means an expert so hopefully someone else will chime in and confirm. I bet you are good though because when I was looking at install pics, there were several mounted high.Mods: MLA BIG Ballast System (1800+ Custom sacs, 2 500 W705 sacs under bow), Duffy Surf Flap Mod, Trimmed Swim Deck, Top-Mount Starter
Comment
-
Just want to double check the posted fraction, 13/16" or 3/16"That's about all I learned today..... oh and my ballast hoses are 1 13/16" OD. What does that translate to ID?
Just for chits and giggles lets use the Kicker shallow mount CVT10 with its 4.375" mounting depth. With a minimum of 1" clearance between the motor and the back wall, the box needs to be at least 7" deep. Now, add at least 2" that the woofer needs to be off the floor. Now, with the height of the box at 9", the width and height would have to = 18" x 18" (or some variation) in order to hit the 1.0 ft3 minimum sealed enclosure spec. So thats the challenge.Thoughts on building a down firing enclosure for the sub and installing it in the space below the drivers seat. Remove the storage compartment on the front of the seat base and replace it with a grill. Just a fairly random thoughtMikes Liquid Audio: Knowledge Experience Customer Service you can trust-KICKER WetSounds ACME props FlyHigh Custom Ballast Clarion LiquidLumens LEDs Roswell Wave Deflector And More
Comment
-
You've got 1.125" ID hose for sure. You can safely use either the 1" or 1.125" ID hose.Mikes Liquid Audio: Knowledge Experience Customer Service you can trust-KICKER WetSounds ACME props FlyHigh Custom Ballast Clarion LiquidLumens LEDs Roswell Wave Deflector And More
Comment
-
I did all of these same conversions this past summer in my RZ2 ... raise heater, move electronics up, build enclosure for XS-12, shoehorn it all back together ... Before you start to move anything, I strongly suggest planning and designing your sub enclosure. This will save you unnecessary cutting and having to move everything two and three times over. I found that simply moving components to their extremes was often "too far" and created other headaches. I'm not sure how comparable the under helm of a 2013 Z1 is to a 2103 RZ2, but if you're interested, I will share the design details of my ported XS-12 enclosure.2013 RZ2 with Convex VX, MLA Custom Sacs
Comment
-
Great advice! You do need to measure and find out what the boat is going to allow you in terms of outside dimensions. Then, design the enclosure within those dimensions. Much easier to make the enclosure fit the boat as opposed to making the bat fit the enclosure.Originally posted by Tulsah View PostI did all of these same conversions this past summer in my RZ2 ... raise heater, move electronics up, build enclosure for XS-12, shoehorn it all back together ... Before you start to move anything, I strongly suggest planning and designing your sub enclosure. This will save you unnecessary cutting and having to move everything two and three times over. I found that simply moving components to their extremes was often "too far" and created other headaches. I'm not sure how comparable the under helm of a 2013 Z1 is to a 2103 RZ2, but if you're interested, I will share the design details of my ported XS-12 enclosure.
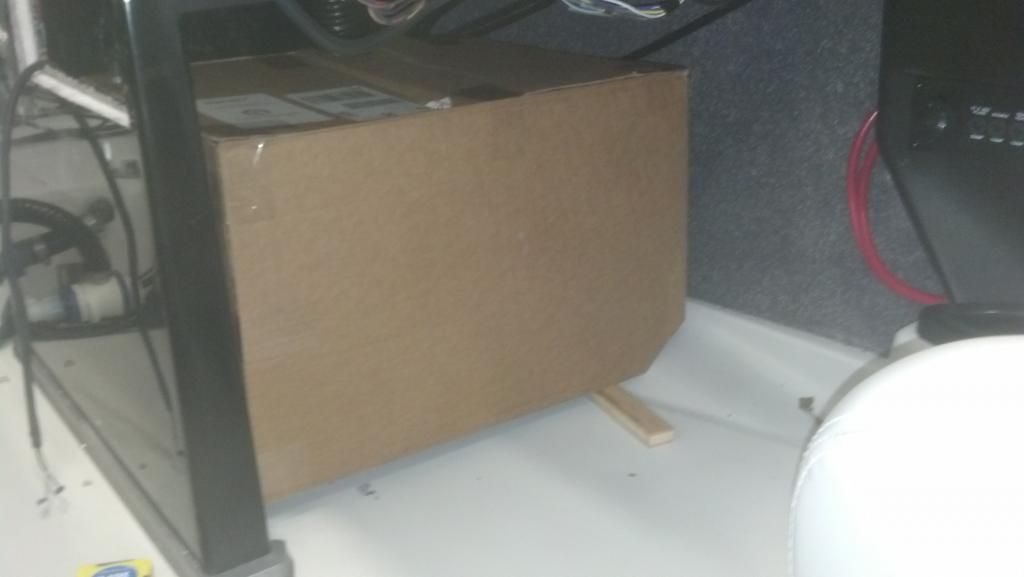
2.15 ft3 sealed thats going to house 2 Kicker KM10 woofers. Mocked up in cardboard first, now we are cutting the panels out. Cutting and test fitting one panel at a time, due to its irregular shape.
 Mikes Liquid Audio: Knowledge Experience Customer Service you can trust-KICKER WetSounds ACME props FlyHigh Custom Ballast Clarion LiquidLumens LEDs Roswell Wave Deflector And More
Comment



Comment