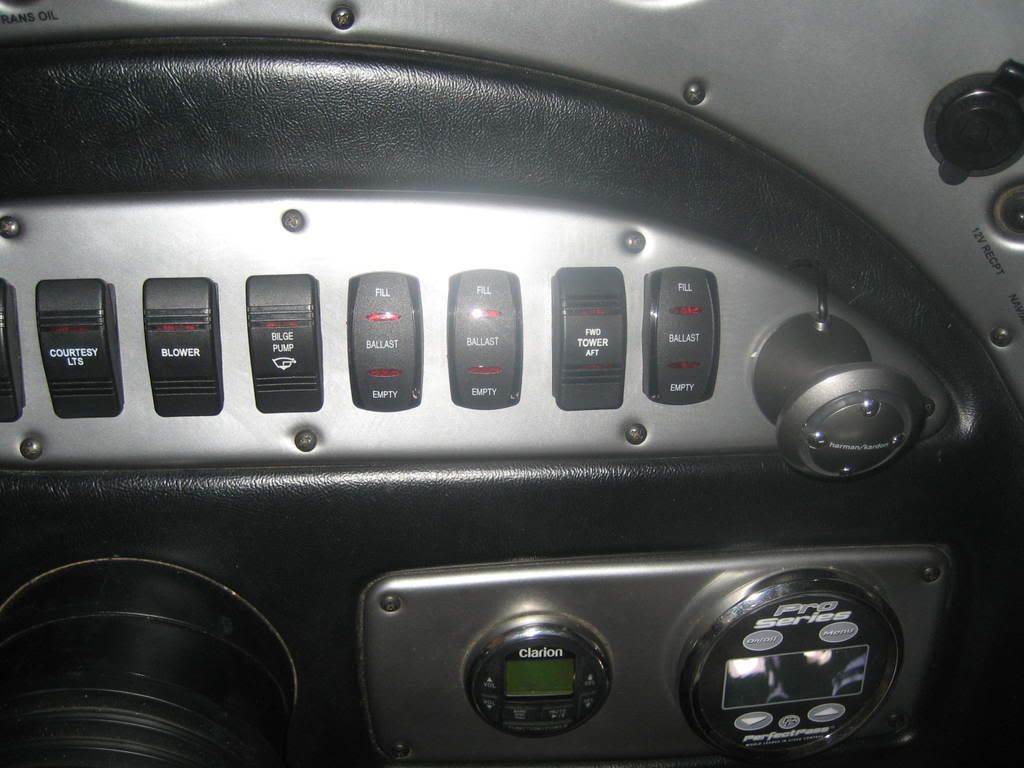
There have been plenty of ballast install threads lately, but with every one I read I have learned something new and it seems like every one of them is a little different from the next. So I figured I'd post up for one more example, not quite finished but pretty close. I have really appreciated everyones help, I think I emailed every one that has a jabsco system and bugged them with questions, so thanks for taking the time and getting back to me, also thanks to Andrew for rounding up all the parts. I went with the three pump system with a bow sac for the front and a v-drive sac for the port side and a custom sac (still need to order) for the starboard side. For the switches I replaced my ACC, Docking Lights, and Shower switch. I rewired the switches under the dash for future use. I used 12 ga. wire to all the pumps and put 20 amp inline fuses on all the switches. I used the negative and positive buss bar under the dash for the power and ground.
Here is the rear port locker set up like TigeDuner, just waiting to install the check valves.
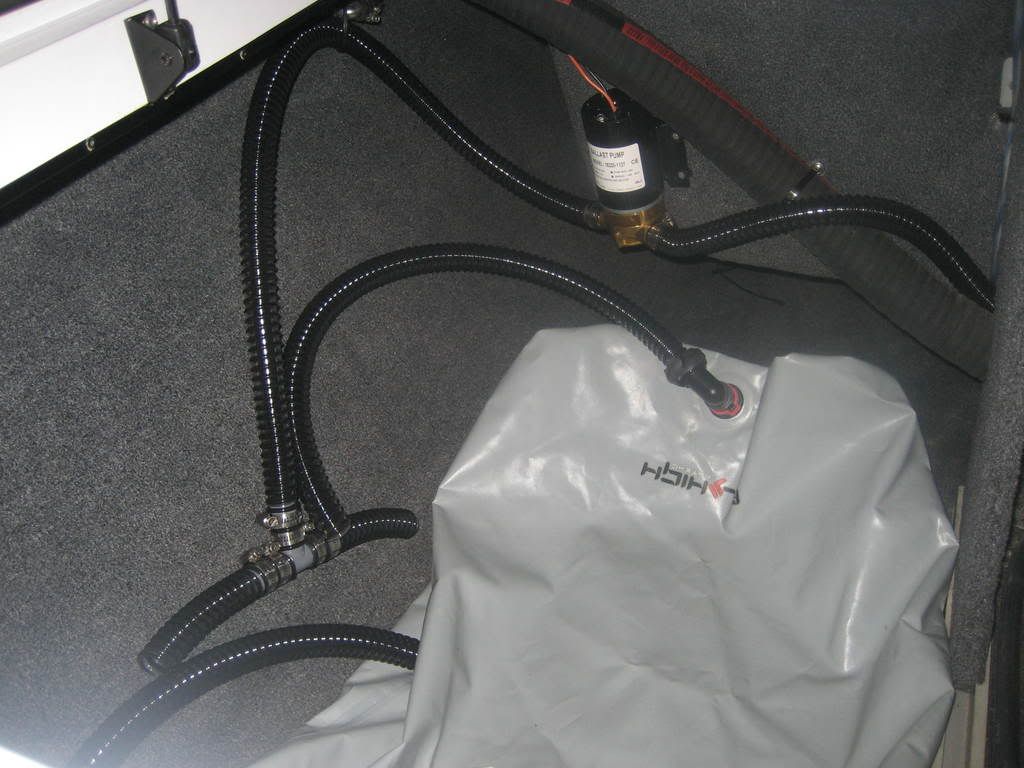
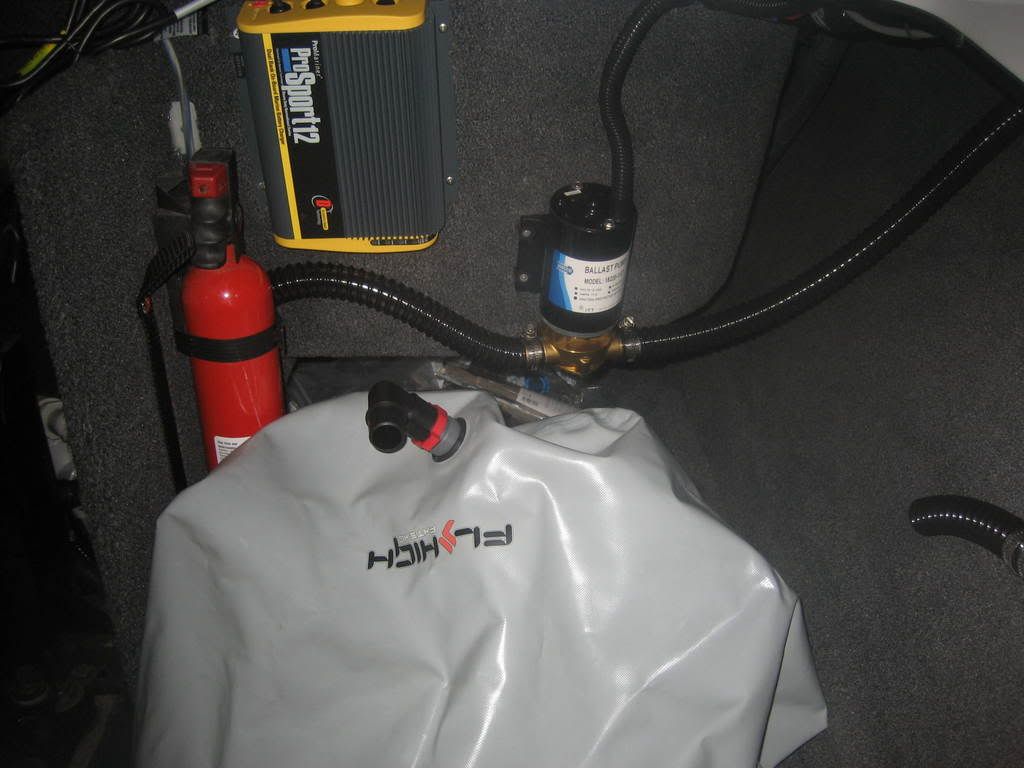
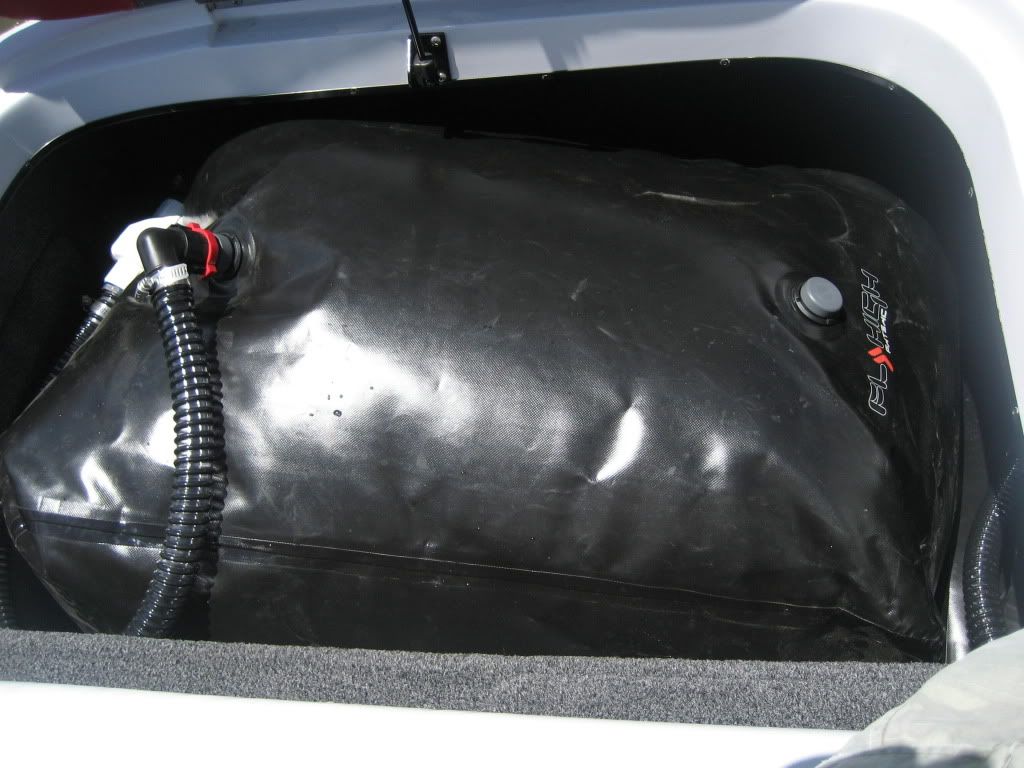
Here is the setup on the starboard side. I am draining from the bottom of the boat and venting from the side. Here is where my first question comes in. I have been looking at NHarp1's setup and how he is filling and draining from the top of the sacs, If this works and drains the water out I would like to just have one line coming from the pump to the top of the sac and then a vent line on the other side of the bag. With the vent line having a check valve the bag should turn into a vacuum and drain and the way I have my fill lines ran it should prevent any back flow and unwanted drainage through the pump.
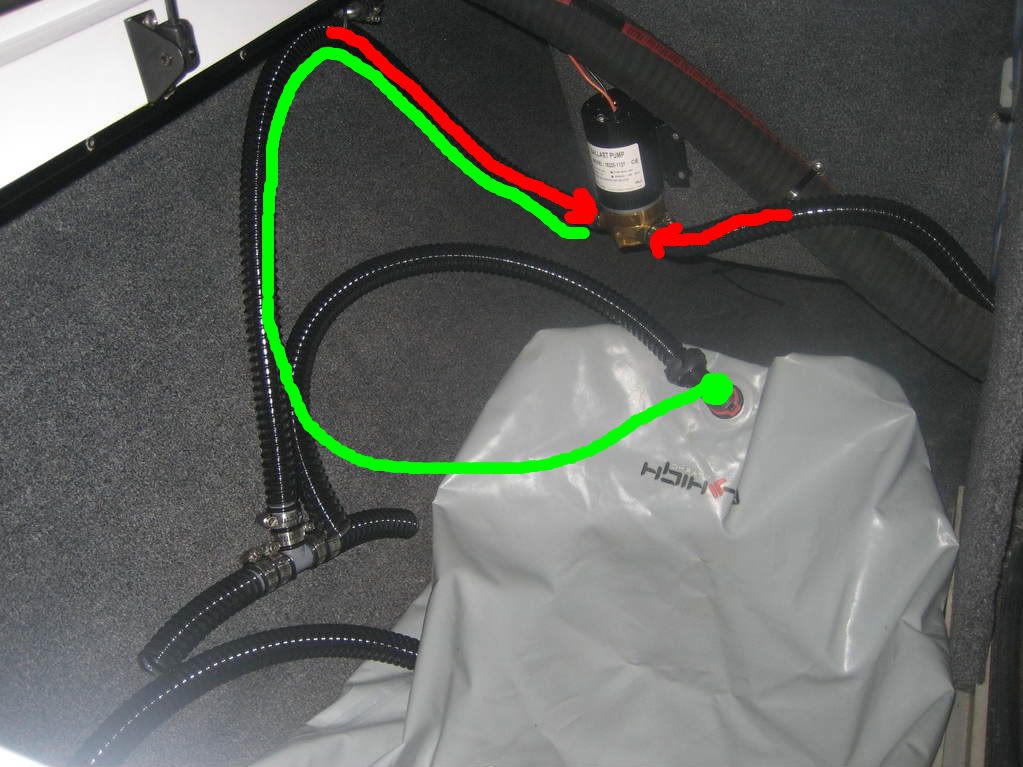
The green line represents the one line I want to run from the pump to the bag and then on the other side just have a vent line with a check valve. All the hoses are ran so that they go up from the pump so that when the pump turns off water should go down hill and prime the pumps. The red lines represent the water flowing back to the pump after they are turned off keeping water in the pump always. The one line for filling and draining and one vent line seems very simple. What does everyone think? I'm not sure if anyone has tried it yet, but it seems like it would work.
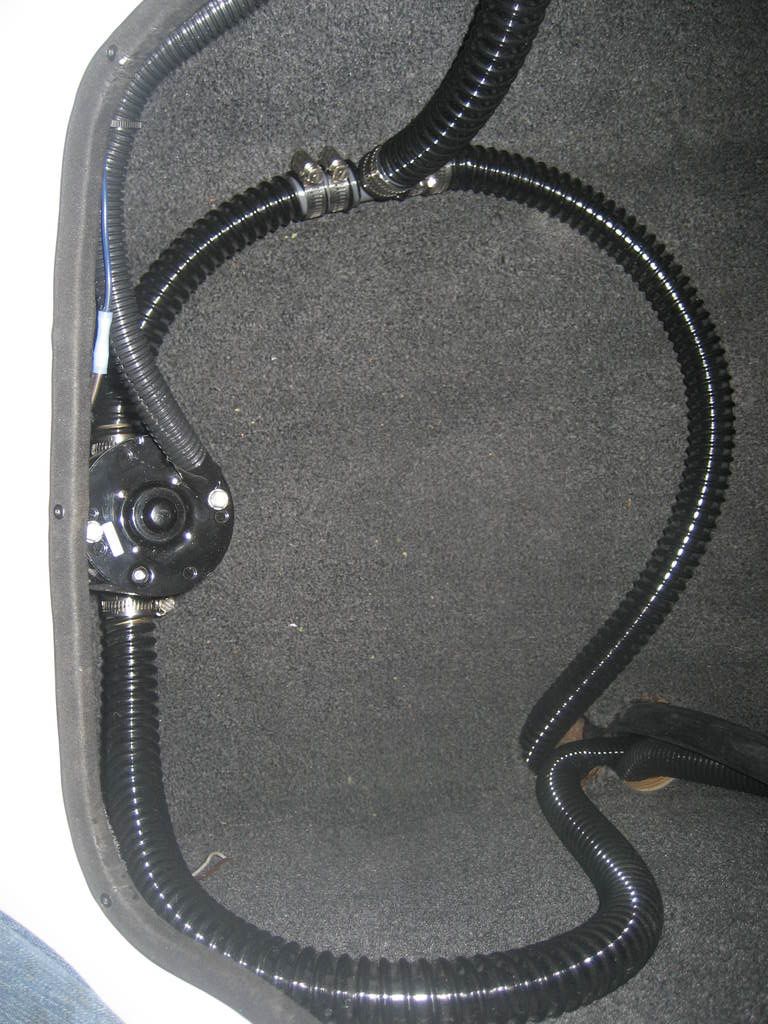
On to the bow sac, the line on the right is the intake from the manifold, it then exits the pump and T's off to branch off to both sides of the bow sac. Once again I have the line come up the wall before it gets to the pump. The lines that go to the sac go up where the existing wire loom runs to the front preventing any unwanted backflow. Here's another question. I wasn't planning on adding any check valves except on the vent line. Does anyone see a problem with that setup?
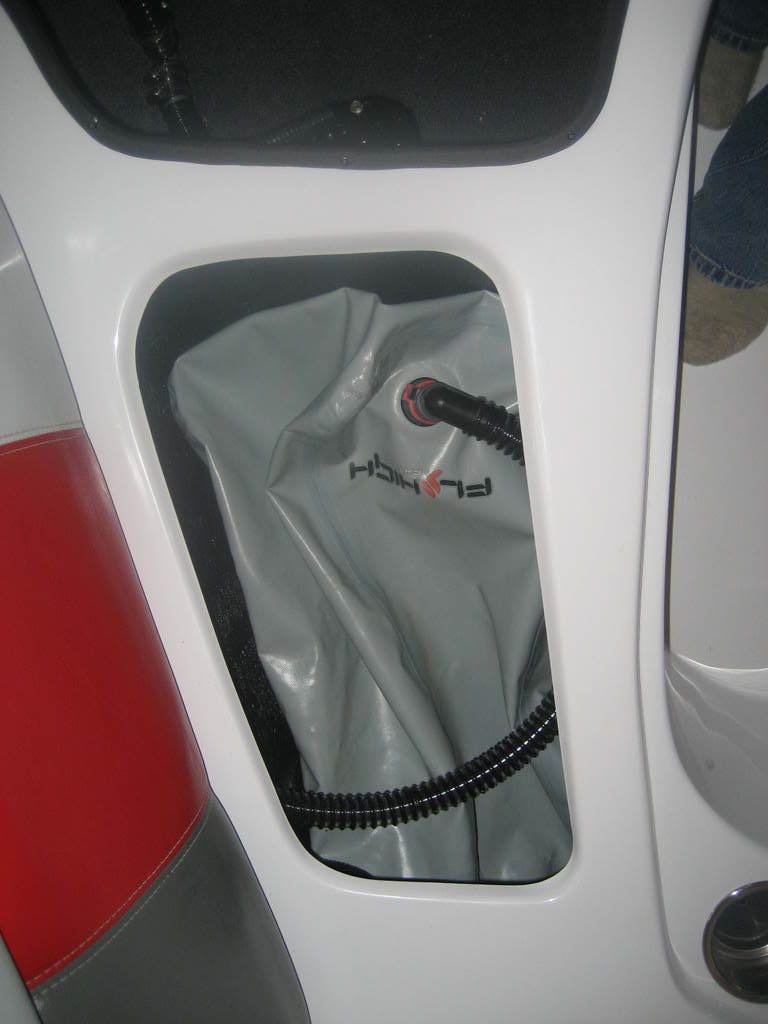
I was planning on having one line on each side for filling and draining and one vent line at the top with a check valve to help obtain the vacuum for draining.
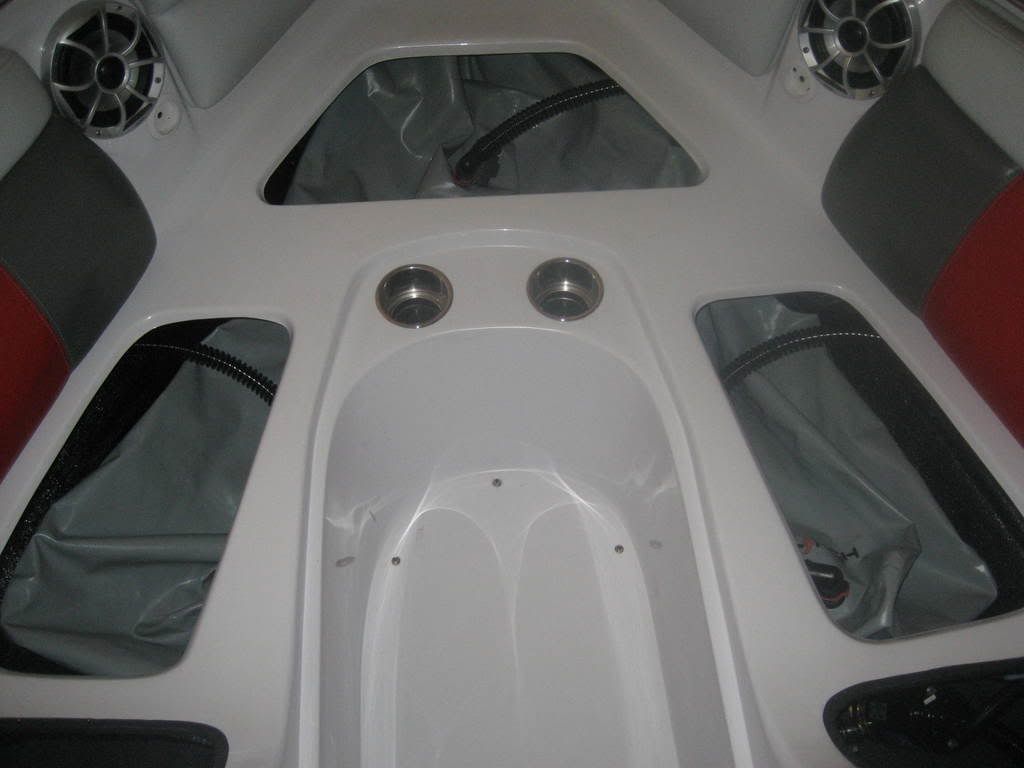
Here's some more pictures
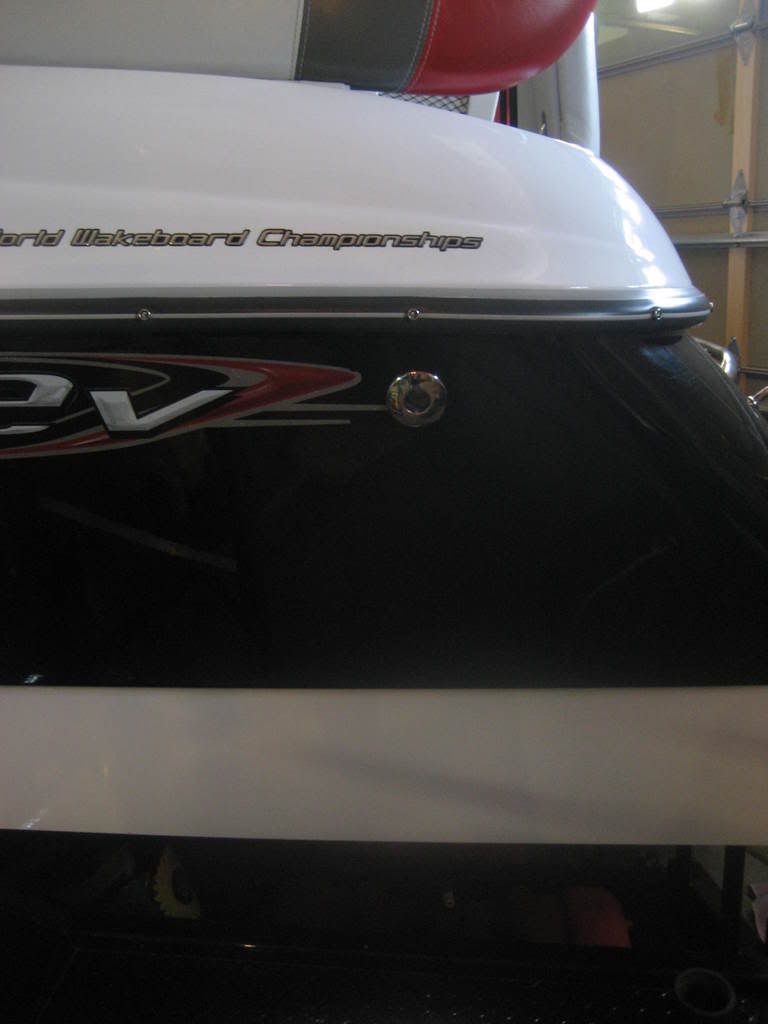
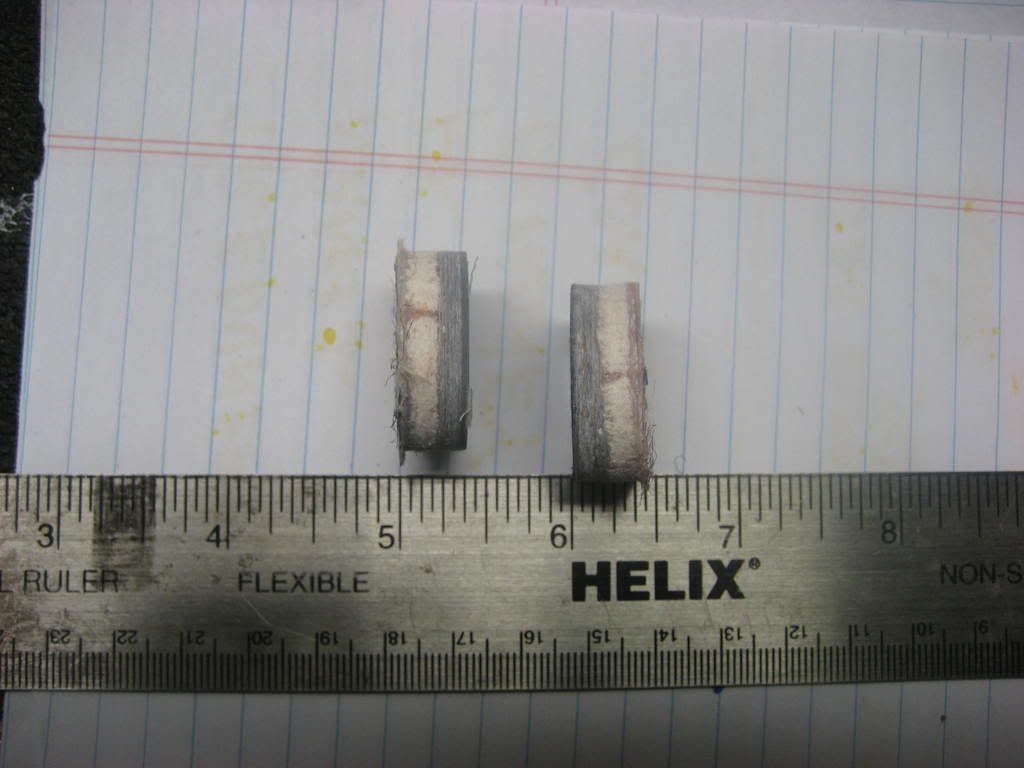
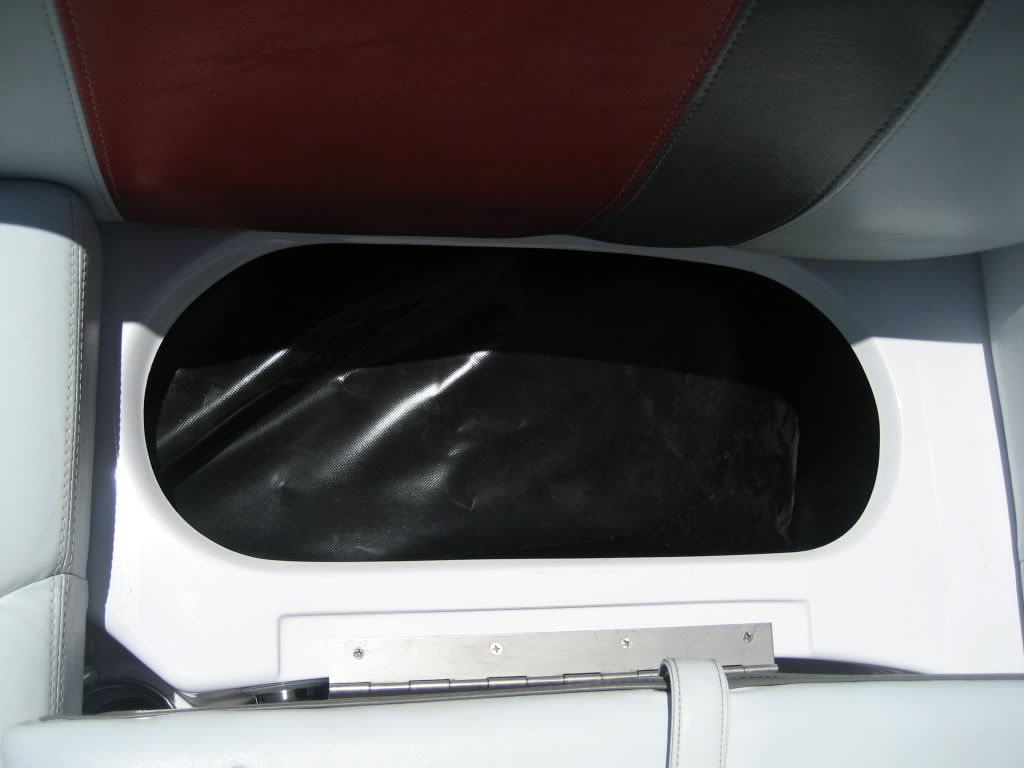
Not even a Half Inch!
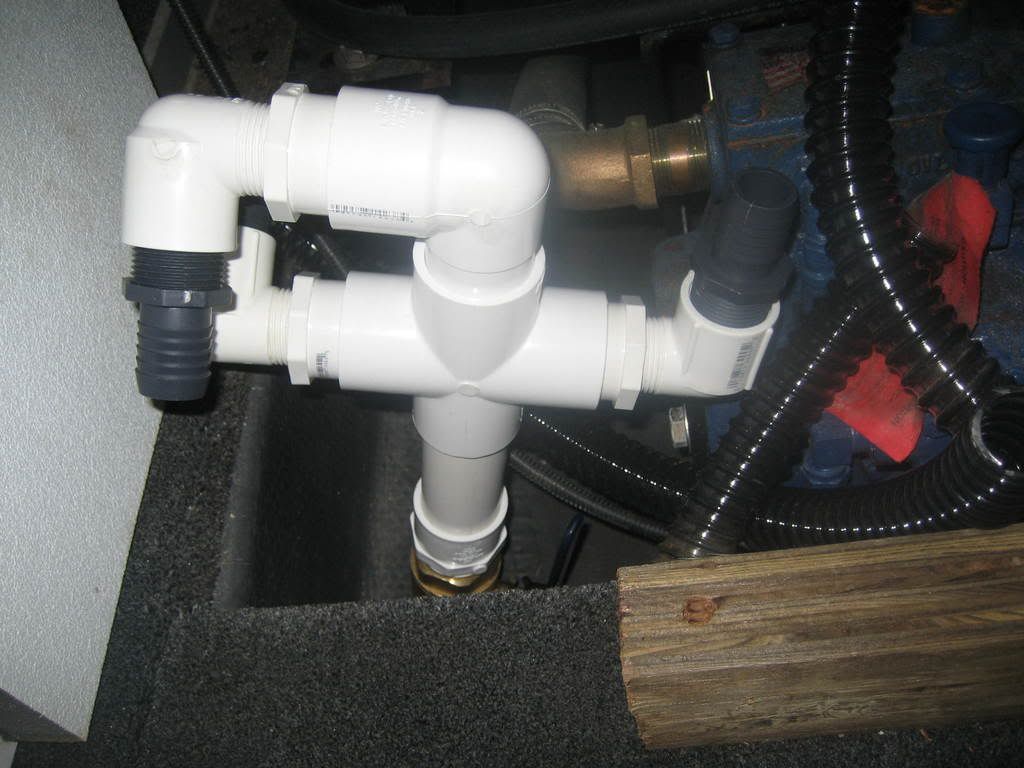
Here is the manifold, it's just sitting there, I haven't drilled the bottom yet.
Well that's all for now. I'll keep everone informed of the water test, not for a couple more months though. Thanks for all you feedback and suggestions.

Here is the rear port locker set up like TigeDuner, just waiting to install the check valves.


Here is the setup on the starboard side. I am draining from the bottom of the boat and venting from the side. Here is where my first question comes in. I have been looking at NHarp1's setup and how he is filling and draining from the top of the sacs, If this works and drains the water out I would like to just have one line coming from the pump to the top of the sac and then a vent line on the other side of the bag. With the vent line having a check valve the bag should turn into a vacuum and drain and the way I have my fill lines ran it should prevent any back flow and unwanted drainage through the pump.

The green line represents the one line I want to run from the pump to the bag and then on the other side just have a vent line with a check valve. All the hoses are ran so that they go up from the pump so that when the pump turns off water should go down hill and prime the pumps. The red lines represent the water flowing back to the pump after they are turned off keeping water in the pump always. The one line for filling and draining and one vent line seems very simple. What does everyone think? I'm not sure if anyone has tried it yet, but it seems like it would work.

On to the bow sac, the line on the right is the intake from the manifold, it then exits the pump and T's off to branch off to both sides of the bow sac. Once again I have the line come up the wall before it gets to the pump. The lines that go to the sac go up where the existing wire loom runs to the front preventing any unwanted backflow. Here's another question. I wasn't planning on adding any check valves except on the vent line. Does anyone see a problem with that setup?

I was planning on having one line on each side for filling and draining and one vent line at the top with a check valve to help obtain the vacuum for draining.

Here's some more pictures


Not even a Half Inch!

Here is the manifold, it's just sitting there, I haven't drilled the bottom yet.

Well that's all for now. I'll keep everone informed of the water test, not for a couple more months though. Thanks for all you feedback and suggestions.




Comment